

Troubleshooting jacket customization issues: fix it right

TL;DR:
- Proper preparation, including cleaning, pre-pressing, and fabric compatibility checks, is essential for durable jacket customization. Mistakes like uneven heat, tension imbalance, or rushed application often cause patch peeling and seam puckering, which are reversible with correct troubleshooting. Mastering these technical details ensures a professional, long-lasting finish that looks intentional rather than amateurish.
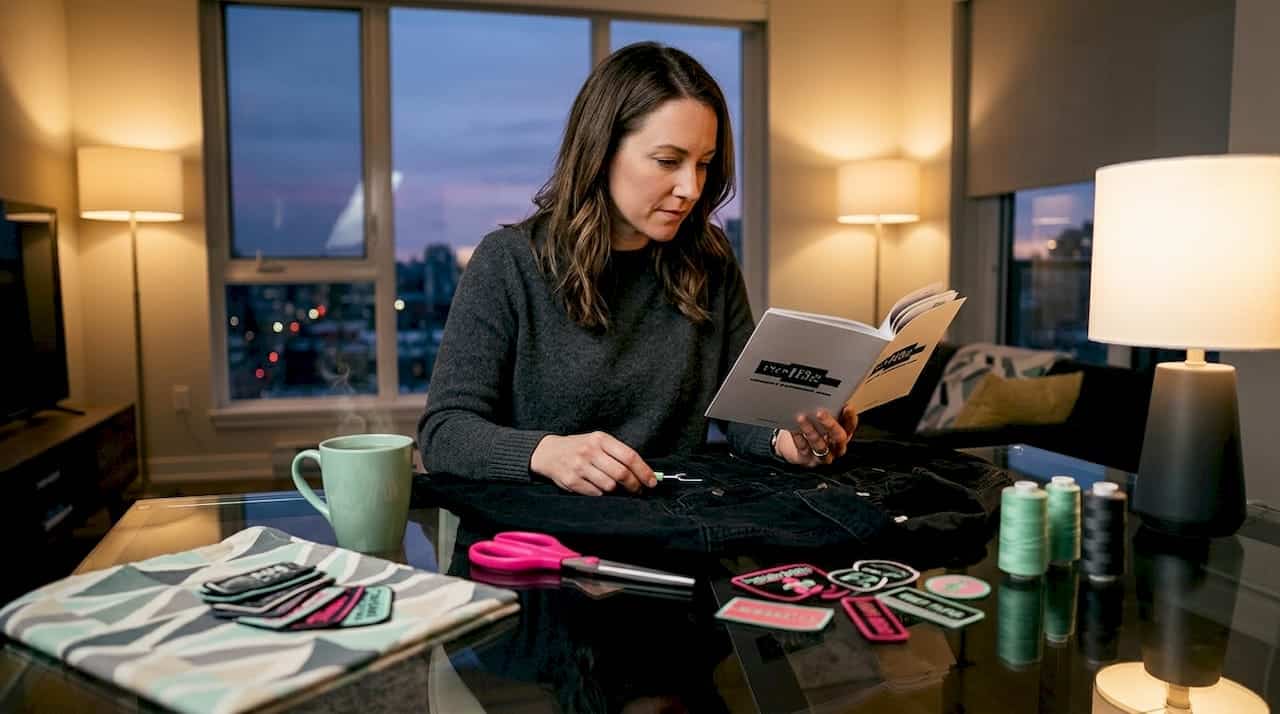
Custom jackets should look like a statement, not a mistake. But troubleshooting jacket customization issues is something almost every enthusiast faces, whether you’re adding club patches to a biker leather or personalizing a bomber with embroidered artwork. Patch peeling, seam puckering, adhesive failure — these are not signs you bought a bad patch or picked the wrong jacket. They’re almost always the result of skipped preparation steps or rushed application. This guide walks you through the exact causes and fixes, so your customization survives road miles, wash cycles, and everything in between.
Table of Contents
- Understanding common jacket customization problems
- Preparing your jacket and materials for customization
- Applying iron-on and embroidered patches correctly
- Troubleshooting sewing and fabric puckering issues
- Verifying results and fixing common post-application issues
- Why mastering troubleshooting is key to personalizing jackets that last
- Get expert help customizing jackets with Maker of Jacket
- Frequently asked questions
Key Takeaways
| Point | Details |
|---|---|
| Clean surfaces matter | Always start customizing with a clean, dry jacket surface to ensure patches bond correctly. |
| Correct heat & pressure | Use fabric-appropriate temperature and firm, even pressure to activate patch adhesives successfully. |
| Proper sewing setup | Match needle, thread, and tension to fabric to avoid puckering during stitching. |
| Patience after application | Allow patches to cool fully before handling to set the adhesive and avoid failures. |
| Routine patch maintenance | Wash inside out with cold water and avoid high dryer heat to extend customization longevity. |
Understanding common jacket customization problems
Jacket design problems rarely come out of nowhere. Most have a clear technical cause that’s easy to identify once you know what to look for. Before you reach for the iron or thread, it helps to understand the most frequent failure points.
Patch adhesion failures are the number one complaint. Iron-on patches often fail due to improper heat or fabric preparation, leading to peeling that starts at the edges within the first wash. The culprit is almost always uneven iron pressure, a surface coated with fabric softener residue, or a temperature setting that never fully activated the heat-sensitive adhesive.
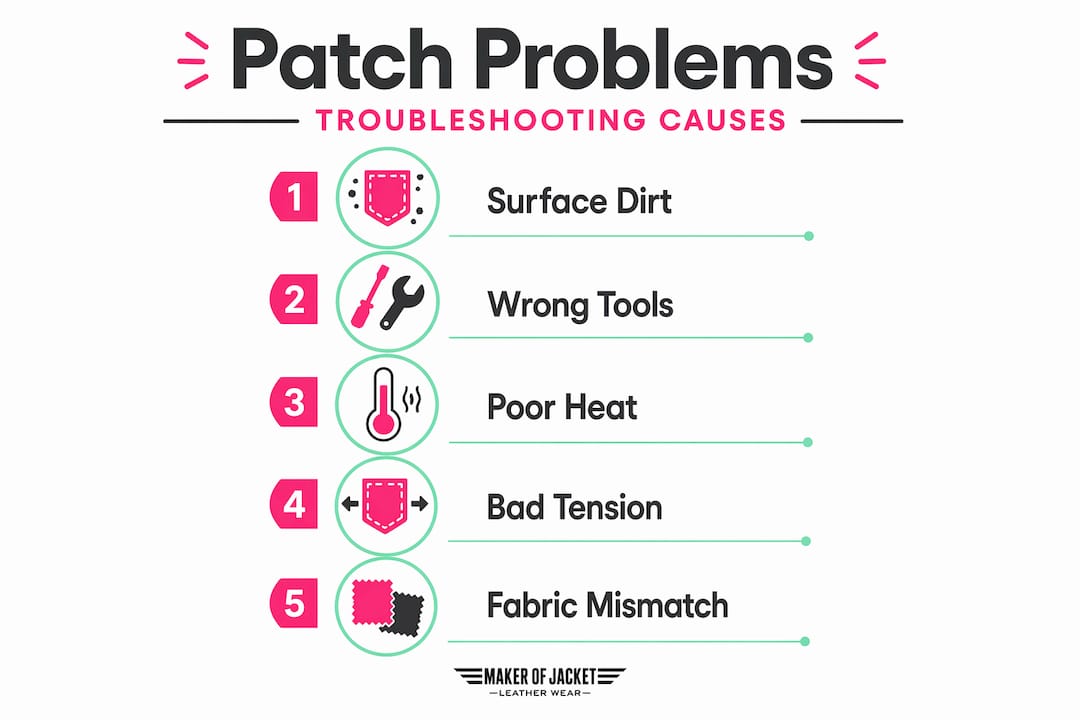
Seam puckering is the second most common issue. It happens when sewing machine tension is off, when the needle is too heavy for the fabric, or when the thread weight doesn’t match the material. On leather and thick denim, this is especially unforgiving because puckers can’t be easily steamed out.
Embroidered patch distortion is less obvious but just as damaging to the final look. Poor design digitizing (converting artwork into stitch data) and wrong stabilizer choice cause the surrounding fabric to warp or the patch itself to look misshapen after application. Here’s a quick breakdown of what causes what:
- Peeling edges: Uneven pressure, wrong temperature, or contaminated fabric surface
- Bubbling adhesive: Too much heat applied too fast, or fabric with a coating that resists bonding
- Puckered seams: Tension imbalance, wrong needle or thread, fabric not properly supported
- Patch distortion: Improper stabilizer, unbalanced stitch density, or poor digitizing
- Color bleed or scorch marks: Iron temperature too high or no pressing cloth used
Many of these fixing jacket personalization problems are technical and entirely reversible. The pattern is consistent: most customizers rush the setup and then troubleshoot after the damage is done.
Preparing your jacket and materials for customization
Understanding what causes problems leads us to how you should prepare your materials to prevent these issues from the start. Preparation is where most jacket customization success or failure is decided, and it gets skipped more than any other step.
Clean and inspect the surface first
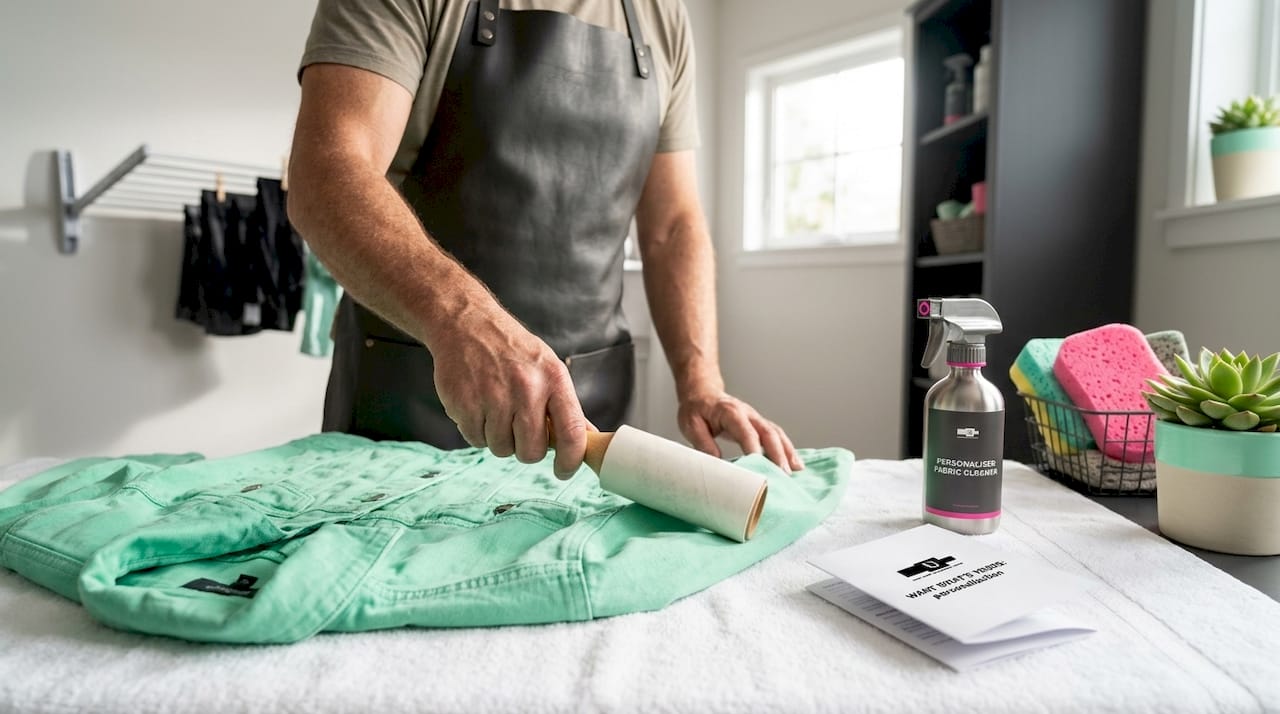
Starting with a clean, dry fabric surface and verifying garment compatibility is what separates a patch that holds for years from one that lifts after two washes. Use a lint roller, then wipe the area with isopropyl alcohol on a cloth to cut through any oils, silicone finishes, or softener residue. Let it dry completely before proceeding.
Fabric compatibility matters more than most people realize. Cotton and denim absorb heat evenly and bond well with iron-on adhesives. Nylon, polyester blends, and genuine leather are a different story entirely. High heat can melt synthetics or damage leather finishes, so for those materials, sewing is the more reliable method.
Pre-washing your jacket before customization removes manufacturing finishes that interfere with adhesion. A brand new jacket straight out of plastic packaging often has a surface treatment that repels adhesives.
| Fabric type | Iron-on compatible | Recommended method |
|---|---|---|
| Cotton | Yes | Iron or heat press |
| Denim | Yes | Iron or heat press |
| Polyester | With caution | Lower heat, pressing cloth |
| Nylon | No | Sew only |
| Genuine leather | No | Sew or use leather adhesive |
| Canvas | Yes | Iron or heat press |
Choose the right tools
For sewing, match your needle to your fabric. A size 90/14 works for medium denim; thick leather needs a size 110/18 leather needle. Thread weight should follow suit: heavy thread on heavy fabric, fine thread on lightweight jackets. Mismatching either one is a direct path to puckering or skipped stitches.
For choosing lining and threads that work with your specific jacket construction, consider the full system: outer shell, lining weight, and any interfacing layers that might affect how the needle passes through.
If you’re working with custom woven labels or woven patches rather than embroidered ones, note that they typically require slightly less heat and pressure because the base is thinner and less dense.
Pro Tip: Pre-press your jacket fabric with a dry iron for 10 seconds on the application area before you place the patch. This removes residual moisture from the fabric, especially in thick cotton blends, and gives you a flat, even surface for the adhesive to bond to.
Numbered preparation checklist:
- Wash and dry the jacket without fabric softener
- Wipe the application area with isopropyl alcohol and let dry
- Pre-press the surface with a dry iron to remove moisture
- Confirm your fabric type is compatible with the application method
- Gather pressing cloth, correct needle, matching thread, and your patch
Applying iron-on and embroidered patches correctly
With materials ready, let’s learn how to apply patches step-by-step to avoid common failures.
Iron-on patches require precise temperature, pressure, and timing to activate the adhesive and bond properly. Getting any one of those three variables wrong is enough to cause failure, even if the other two are perfect.
Iron-on application steps
- Set your iron or heat press to 300 to 350°F. Check the patch manufacturer’s recommendation first.
- Position the patch and place a pressing cloth (parchment paper works well) over it.
- Apply firm, even pressure. Do not move the iron. Hold for 15 to 30 seconds.
- Flip the garment and press from the inside for another 15 seconds.
- Let the patch cool completely (at least 60 seconds) before touching or bending the area.
- Test edge adhesion by pressing firmly with your fingernail at the corners.
| Step | Temperature range | Dwell time | Pressure level |
|---|---|---|---|
| Initial press | 300 to 320°F | 15 to 20 seconds | Firm |
| Reverse press | 300 to 320°F | 10 to 15 seconds | Firm |
| Delicate fabric | 250 to 280°F | 20 to 25 seconds | Medium |
For custom embroidery application tips on leather or structured jackets, combining a light iron-on bond with perimeter sewing is the most durable approach for riders who face vibration, wind, and weather exposure.
Embroidered patch stabilization
Embroidered patches need a tear-away or cut-away stabilizer placed behind the fabric before stitching. Tear-away works for stable, woven fabrics. Cut-away is better for stretch or knit bases because it supports the stitching permanently. Balanced machine tension, typically equal top and bobbin thread tension, prevents the stitch from pulling the fabric in any direction.
Pro Tip: After your iron-on patch has cooled, add four to six securing stitches around the perimeter at the corners and midpoints. This dramatically extends the bond life, especially on jackets that go through frequent wash cycles or regular road use. Reference this iron-on patch preparation approach for real-world examples of how the technique performs on different jacket materials.
Troubleshooting sewing and fabric puckering issues
Patches aside, successful sewing also requires mastering tension and fabric handling to prevent unwanted puckering.
Puckering is mainly caused by tension imbalance, mismatched materials, or improper sewing technique. And once puckering happens on a finished seam, it’s far more difficult to undo than to prevent.
Common puckering causes and fixes
- Tension too tight: The upper thread pulls the seam from the top side. Loosen the upper tension in small increments (0.5 at a time) until the seam lies flat.
- Needle too large or small: A needle that punches too large a hole allows the thread to sink unevenly. Match needle size to fabric weight precisely.
- Thread too heavy: Heavy thread on thin fabric creates drag that pulls the weave. Drop to a finer thread grade.
- Fabric being pulled: Letting the operator pull or stretch fabric through the machine adds tension that doesn’t show until the seam relaxes. Guide, don’t pull.
- Presser foot pressure too high: On thick leathers or padded fabrics, high foot pressure compresses the material unevenly.
Numbered adjustment sequence
- Test your machine settings on an identical scrap piece first.
- Sew a 3-inch seam and inspect it flat without tension from your hands.
- Adjust upper tension down by 0.5 increments if puckering is on the top side.
- Check bobbin tension if puckering appears on the reverse side.
- Change needle size if the issue persists.
- Add a strip of tear-away stabilizer beneath the seam on stretch or delicate fabrics.
For reference on choosing thread and needles that match your jacket’s construction, thickness matters more than brand.
| Fabric type | Needle size | Thread weight | Stitch length |
|---|---|---|---|
| Lightweight denim | 80/12 | 40wt polyester | 2.5mm |
| Heavy denim | 100/16 | 30wt polyester | 3.0mm |
| Leather | 110/18 leather | 30wt nylon | 3.5mm |
| Canvas | 90/14 | 40wt polyester | 3.0mm |
Pro Tip: Increasing stitch length and reducing presser foot pressure by one setting often resolves puckering on heavier fabrics immediately. Most sewers assume tension is the only variable, but presser foot pressure is just as influential on thick, stiff materials.
Verifying results and fixing common post-application issues
After applying and sewing, you need to verify and maintain your customizations to enjoy long-lasting results. Inspection and maintenance are where most common jacket issues get caught early, before they become full failures.
Post-application inspection checklist
- Run your thumbnail firmly along every patch edge. Any lift indicates incomplete bonding.
- Hold the jacket up to light and look for warping or puckering in the fabric around the patch.
- Flex the jacket in the areas where patches sit. A properly bonded patch flexes with the garment without cracking.
- Check thread ends at every sewn patch. Loose ends unravel fast under friction.
- Examine stitch consistency: spacing should be even, no skipped stitches or loops on the back.
Fixing what’s already gone wrong
Lifting patch edges can often be fixed by reheating or adding stitches, and washing care directly affects how long the adhesive bond holds. To re-press a lifting edge, place a parchment paper over it and hold a hot iron on the spot for 15 seconds with firm pressure.
For edges that keep lifting after two re-presses, a small drop of fabric glue applied underneath the patch edge and allowed to cure for 24 hours is a more permanent fix than more heat.
Washing and care rules that protect your customization:
- Wash inside out in cold water (30°C or below)
- Use a gentle or delicate machine cycle
- Skip the dryer entirely; air dry flat or on a hanger
- Never iron directly over a patch surface
- Store folded rather than stuffed to avoid adhesive stress
You can find more ways to customize jackets with unique style while keeping long-term durability in mind, including choices that reduce how often you need to re-press or repair.
Pro Tip: If you ride regularly, keep a small repair kit in your saddlebag or gear bag: a mini iron-on patch sheet, a square of parchment paper, and a few yards of matching thread. Catching a lifting edge early means a 30-second fix instead of a complete redo.
Why mastering troubleshooting is key to personalizing jackets that last
Here’s the honest perspective: most people treat jacket customization as a purely creative act. Pick a design, stick it on, done. The technical side feels like fine print. That mindset is exactly why most failures come from skipping prep and troubleshooting steps, not from bad products.
“85% of DIY patch failures happen due to skipped preparation or misapplied heat, not defective patches.” — The Eagle Patches
That number should reframe how you approach the whole process. Your patches are almost certainly fine. Your iron is probably capable. The gap is in the method.
What separates a jacket that looks custom-made from one that looks like a DIY project gone wrong isn’t artistic talent. It’s the quiet, unglamorous prep work: washing the fabric before application, pre-pressing, matching thread to material, testing tension on a scrap piece. These steps take maybe 20 extra minutes. They determine whether your jacket looks sharp after 50 washes or starts peeling on the third.
Combining heat bonding with perimeter sewing is something professional garment makers do automatically, but most consumers don’t know it’s standard practice. The iron-on layer holds the patch in position. The stitching is what actually keeps it there long term. Think of the adhesive as temporary positioning and the stitching as the real anchor.
True jacket personalization is a craft, not just a decision. Once you learn the technical side, you stop second-guessing your results because you understand exactly why something worked or didn’t. That confidence is worth more than any single patch. Explore jacket embroidery personalization as a method that builds both durability and visual depth into your design.
Get expert help customizing jackets with Maker of Jacket
Resolving jacket order errors and perfecting your design gets a lot easier when you have professional support behind you. If you’ve worked through these troubleshooting steps and want a clean, expert-backed result from the start, Maker of Jacket handles the technical complexity so you don’t have to.
From material selection to finished product, the customization journey at Maker of Jacket covers every detail that DIY attempts often miss: fabric compatibility, proper stabilization, correct application temperatures, and professional finishing. Whether you want a club-ready biker jacket or an embroidered fashion statement, the custom jacket styling guide walks you through your options in detail. For riders specifically, the custom embroidered motorcycle jackets guide covers exactly what your jacket needs to perform on the road and look sharp doing it.
Frequently asked questions
Why won’t my iron-on patch stick despite applying heat?
Poor adhesion is commonly caused by a dirty fabric surface, uneven pressure, or a temperature that doesn’t match the patch or fabric type. Clean and dry your jacket surface thoroughly, use firm consistent pressure, and confirm your iron is set to the correct temperature range for the material.
How can I prevent puckering when sewing patches on jackets?
Puckering is often caused by tension imbalance and mismatched thread or needle size. Match your thread weight and needle to the fabric, adjust machine tension incrementally, and never pull the fabric while sewing.
Can I apply patches on synthetic jackets like polyester or nylon?
Lower temperature and a barrier cloth are advised for polyester, while sewing is the preferred method for heat-sensitive or delicate materials. Nylon should never receive high direct heat; always test on an inconspicuous area first.
What maintenance keeps my customized jacket patches intact longer?
Cold washing and cautious drying significantly prolong adhesive bond strength and overall patch life. Wash inside out on a gentle cycle, avoid the dryer, and re-press any lifting edges immediately before they spread.


