

Clean Motorcycle Leathers: Bug Splatter Without Damage

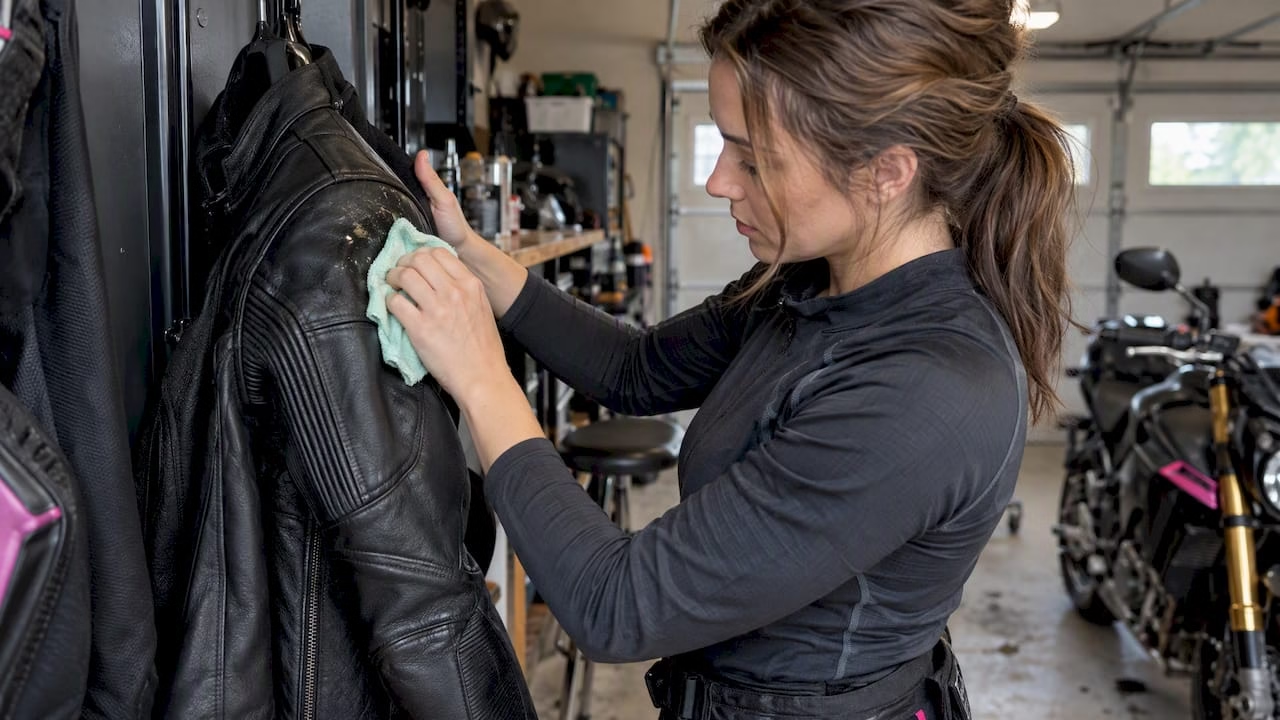
Use a dedicated, pH-balanced leather cleaner applied sparingly, blot rather than soak, then condition once dry. Always spot test on a hidden panel first, and skip the project entirely if you’re dealing with vegetable-tanned hide, a delicate finish, or a stain that won’t lift. Conservator guidance, motorcycle-specific leather care specialists, and our own experience building custom riding gear all point the same direction: less moisture, more patience.
TL;DR:
- Ink stains can damage the finish; if a gentle treatment fails within a minute or two, stop and take the garment to a professional.
- Wax offers stronger water resistance but can darken light leather, and some waterproofing sprays leave a visible film on glossy finishes, so check compatibility.
- After rain, blot water and hang the garment away from heaters; store it in a breathable bag at 40% to 60% relative humidity.
- Wipe the jacket every two to three rides and clean it fully two to three times each season; daily commuters may need extra care.
- Never machine wash or tumble dry leather, and avoid dish soap, alcohol based wipes, solvents, and direct heat that strip oils or stiffen the hide.
Table of Contents
- What you need: safe cleaners, conditioners, and the right tools
- Step-by-step cleaning for smooth, finished motorcycle leather
- Stain and problem spot treatments: bugs, oil, ink, salt, and mold
- Conditioning and waterproofing: how to restore oils and protect finishes
- Drying, storage, and humidity considerations
- Maintenance schedule: quick wipes, full cleaning, and deep-care cadence
- What not to do: common mistakes that cause irreversible damage
- A maker’s perspective on long-term leather care
- When repair isn’t enough: custom motorcycle leather built to your specs
- FAQ
- Sources
What you need: safe cleaners, conditioners, and the right tools
Before touching a jacket or suit, gather the right materials. A pH-balanced leather cleaner is the base of any safe routine, paired with a leather conditioner or emulsion to replace oils afterward and, for riders who face regular rain, a waterproofing spray compatible with finished leather. Suede, buffalo hide, and vegetable-tanned leather need their own specialized products; a cleaner made for smooth, finished cowhide can discolor or stiffen these surfaces.
Skip dish soap, alcohol-based baby wipes, and household solvents. These strip natural oils and finish coatings, leaving leather dry and prone to cracking.
- Microfiber cloths for wiping and buffing
- A soft-bristle brush for loose dirt and seams
- A clean applicator pad for cleaner and conditioner
- Absorbent towels for blotting damp spots
- A padded hanger to hold shape while drying
- A vacuum with a soft brush attachment for crevices and zippers
Check the garment’s care label and do a spot test in an inconspicuous area before applying anything to the full surface.
Step-by-step cleaning for smooth, finished motorcycle leather
Cleaning works best as a sequence, not a single wipe-down. Rushing any step is what usually causes the dull patches and stiff spots riders complain about later.
- Prepare the garment. Empty pockets, unzip panels, and inspect the leather under good light for existing damage.
- Remove dry dirt. Vacuum with a soft brush attachment or brush off loose grit before adding any moisture.
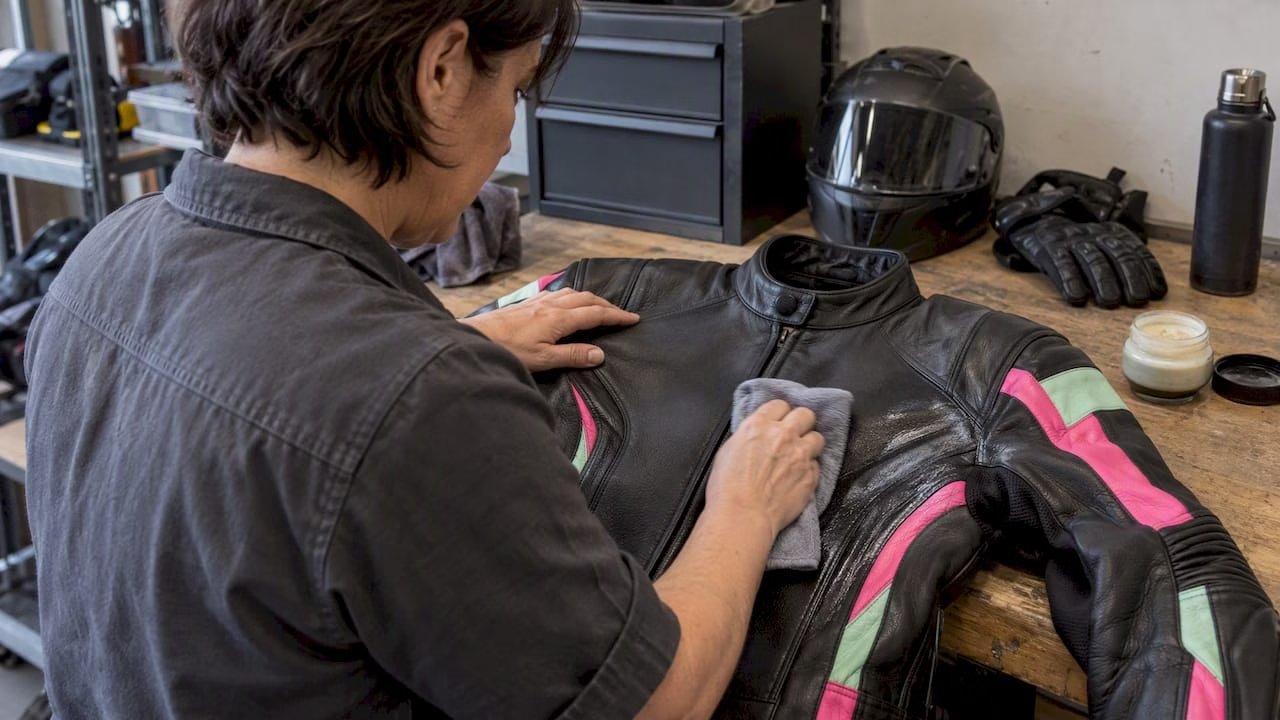
- Damp wipe. Use a wrung-out microfiber cloth to lift surface grime without soaking the hide.
- Apply cleaner. Put a small amount of pH-balanced cleaner on a cloth, not directly on the leather, and work in small sections.
- Wipe off residue. A second clean, slightly damp cloth removes leftover product so nothing dries into the grain.
- Dry the garment. Blot excess moisture and air-dry at room temperature on a padded hanger, away from vents or direct sun.
- Condition once fully dry. Apply in thin layers and buff after the leather absorbs it.
This dry-then-damp-then-clean progression matches the routine recommended across motorcycle clothing care guides, which also warn that a washing machine should never touch motorcycle leather. Household cleaners and direct heat are off the table at every stage.
Pro Tip: Work on one panel at a time and let each section dry before moving on. It keeps you from missing a damp spot that later shows up as a dull ring.
Stop and call a professional when you’re working with a delicate painted finish, vegetable-tanned leather, or a stain that doesn’t budge after one gentle pass. Pushing harder at that point usually makes things worse, not better.
Stain and problem spot treatments: bugs, oil, ink, salt, and mold
Riders deal with a specific set of stains that upholstery and fashion leather rarely see. Acting quickly matters more than the exact product you reach for.
- Bug splatter: Soften with a damp cloth as soon as you can, then follow with a mild leather cleaner. Don’t scrub, since dried insect residue can be abrasive against the grain.
- Oil or grease: Blot first with cornstarch or talc to absorb what’s on the surface, then follow with a leather-safe degreaser used sparingly.
- Ink: These stains carry real risk to the finish. If a gentle spot treatment doesn’t lift it within a minute or two, hand it to a professional rather than pressing harder.
- Road salt: Brush off dried residue, wipe with a damp cloth and cleaner, then condition once the leather is dry. Salt left in place draws moisture and accelerates cracking.
- Mold or mildew: Ventilate the garment first, then lightly treat affected spots with diluted vinegar after testing on a hidden area, followed by thorough drying.
Promptly treating insect residue matters, since softened splatter wipes away far more easily than material that’s baked on by sun and highway heat, according to motorcycle gear care guidance.
Conditioning and waterproofing: how to restore oils and protect finishes
Cleaning pulls contaminants off the surface, but it also dries out the leather slightly. Conditioning is the step that puts moisture and fats back in, and professional leather-care guidance treats the two as a single cycle rather than separate, optional tasks.
Choosing a conditioner depends on the leather’s finish: emulsions suit most finished cowhide, waxes add more water resistance but can darken lighter colors, and balms work well on everyday jackets that see frequent wear. Our guide to leather conditioner types covers how to match a product to your jacket’s finish.
- Apply in thin layers rather than one heavy coat
- Let the leather absorb the product for several minutes before buffing
- Reapply on a schedule rather than only when leather looks dry
Waterproofing sprays work well for everyday rain protection, while waxes offer heavier coverage for extended wet-weather riding. Check compatibility with your finish first, since some sprays leave a visible film on glossy leather.
Pro Tip: Buff conditioner off with a dry microfiber cloth once it’s absorbed. A glossy, greasy surface means you applied too much.
Drying, storage, and humidity considerations
What you do in the hour after a rainy ride matters as much as the cleaning itself. Blot excess water immediately, hang the garment on a padded hanger in a ventilated spot, and keep it away from radiators or heaters. Direct heat pulls moisture out too fast and leaves leather brittle.
For longer-term storage, use a breathable garment bag rather than plastic, which traps moisture and encourages mildew. Museum conservation guidance recommends keeping leather and skin materials at a relative humidity of 40 to 60 percent, away from direct sunlight that fades color and dries out natural oils.
- Blot, don’t rub, after rain or spills
- Store on a padded hanger, never folded in a pile
- Keep vintage or fragile pieces out of direct light and extreme humidity swings
- Remove and launder liners separately according to their own fabric care label
Our storage guide for leather jackets walks through setting up a space that won’t stiffen or mildew your gear between rides.
Maintenance schedule: quick wipes, full cleaning, and deep-care cadence
A simple calendar keeps leather supple without over-handling it. Leather-care specialists recommend adjusting frequency to how often you ride, with heavier use calling for more frequent attention.
- Quick wipe-down after several rides, or whenever leather looks visibly dusty or grimy
- Full clean several times per riding season, with more frequent cleaning advised for daily commuters
- Deep clean with saddle soap or similar products only occasionally, sparingly, always followed by conditioning
- Before winter storage, give the jacket a full condition and waterproofing pass
Our broader leather care resource covers seasonal adjustments for riders who put on serious mileage.
What not to do: common mistakes that cause irreversible damage
Some habits cause damage that no amount of conditioning fixes afterward.
- Never machine wash or tumble dry leather; the agitation and heat warp the hide permanently
- Avoid dish detergents, straight solvents, and alcohol-based baby wipes, all of which strip natural oils
- Never dry leather with direct heat from a radiator or hairdryer, since rapid drying stiffens and cracks the surface
- Use saddle soap sparingly and only for occasional deep cleans
Saddle soap and similar alkaline dressings can lift dirt, but conservation guidance warns they can also drive soil deeper into the grain and dry leather out with repeated use, which is why they’re best saved for an occasional deep clean rather than a weekly routine.
A maker’s perspective on long-term leather care
Some companies build custom motorcycle jackets and suits, so a proper cleaning routine can extend the life of hand-finished leather and the details that go into it, like fitted panels, hardware, and stitching. Following these steps protects that work rather than wearing it down prematurely.
When a jacket is built to your measurements, keeping it supple and clean keeps the fit the way it was intended. Care resources typically walk through the specifics for custom pieces, and companies may offer support for special finishes.
— Maker
When repair isn’t enough: custom motorcycle leather built to your specs
Good care routines extend a jacket’s life by years, but some leather reaches a point where cracking, shrinkage, or sun damage go past what cleaning and conditioning can fix. At that stage, a custom motorcycle jacket built to your exact measurements is worth considering rather than patching something that’s run its course.

- Every piece is made to your size and style preferences rather than pulled from standard stock
- Handcrafted construction uses premium-grade materials suited to real riding conditions
- Worldwide free shipping and 24/5 support back every order
This is a path for gear beyond saving, not a substitute for the care routine above. Browse our custom order categories to see what’s possible for your next jacket or suit.
FAQ
Can you wash a motorcycle jacket?
You can clean a motorcycle leather jacket, but never in a washing machine. Motorcycle-specific care guidance recommends dry dirt removal followed by a damp microfiber wipe and a dedicated leather cleaner instead.
Is a leather jacket ruined if it gets wet?
A wet leather jacket isn’t automatically ruined, but it needs careful drying. Blot excess water right away, hang it on a padded hanger away from direct heat, and condition once it’s fully dry, since conservation guidance notes that saturation and improper drying are what cause lasting stiffening and darkening.
Can I put Dawn dish soap on leather?
Dish soap isn’t formulated for leather and tends to strip the natural oils that keep it flexible. A pH-balanced leather cleaner protects the hide while still lifting dirt and grime effectively.
Can I use household degreasing liquid to wash my motorbike leather?
Household degreasers and dish liquids are too harsh for motorcycle leather and risk drying out the finish over time. Stick with a dedicated leather cleaner and a damp microfiber cloth for the surface, and save stronger degreasers for metal or plastic parts only.
How often should I clean my motorcycle leathers?
A quick wipe-down every two to three rides keeps dirt from building up, with a full clean two to three times per riding season. Heavy daily riders may need to clean and condition more often, as outlined in professional leather-care guidance.
Sources
- How to Properly Clean and Care for Motorcycle Leather: Pro Guide with SWISSVAX
- Appendix S: Curatorial care of objects made from leather and skin products
- Moto-guide


