Master Leather Jacket Embroidery for Custom Styles

Embroidering a leather jacket is not just a creative project for american style lovers, it is also a test of patience and skill. With over 60 percent of DIY enthusiasts admitting to using the wrong materials for leather crafts, having the right tools at hand makes all the difference. Whether you are looking to personalize your favorite jacket or craft a unique gift, you will learn exactly how to start and finish flawless embroidery on leather with confidence.
Table of Contents
- Step 1: Gather Essential Embroidery Materials
- Step 2: Choose and Transfer Your Design
- Step 3: Prepare the Leather Jacket Surface
- Step 4: Stitch Your Embroidery Pattern
- Step 5: Check and Secure Embroidered Details
Quick Summary
| Key Point | Explanation |
|---|---|
| 1. Use specialized leather needles | Size 80/12 leather embroidery needles minimize damage and ensure smooth stitching on the leather surface. |
| 2. Choose strong polyester threads | Polyester threads offer durability and strength, maintaining the integrity of your leather during embroidery. |
| 3. Simplify your design choice | Opt for lighter patterns with fewer details to avoid puckering and stress on the leather material. |
| 4. Stabilize the leather properly | Apply a medium-weight cutaway stabilizer with adhesive to create a stable foundation for your embroidery work. |
| 5. Inspect and secure your embroidery | After stitching, check for tightness and trim excess stabilizer to ensure a polished and durable final product. |
Step 1: Gather Essential Embroidery Materials
Embroidering a leather jacket requires precision and the right set of tools to transform your plain leather into a personalized masterpiece. In this step, you will collect all the specialized materials needed to start your customization journey.
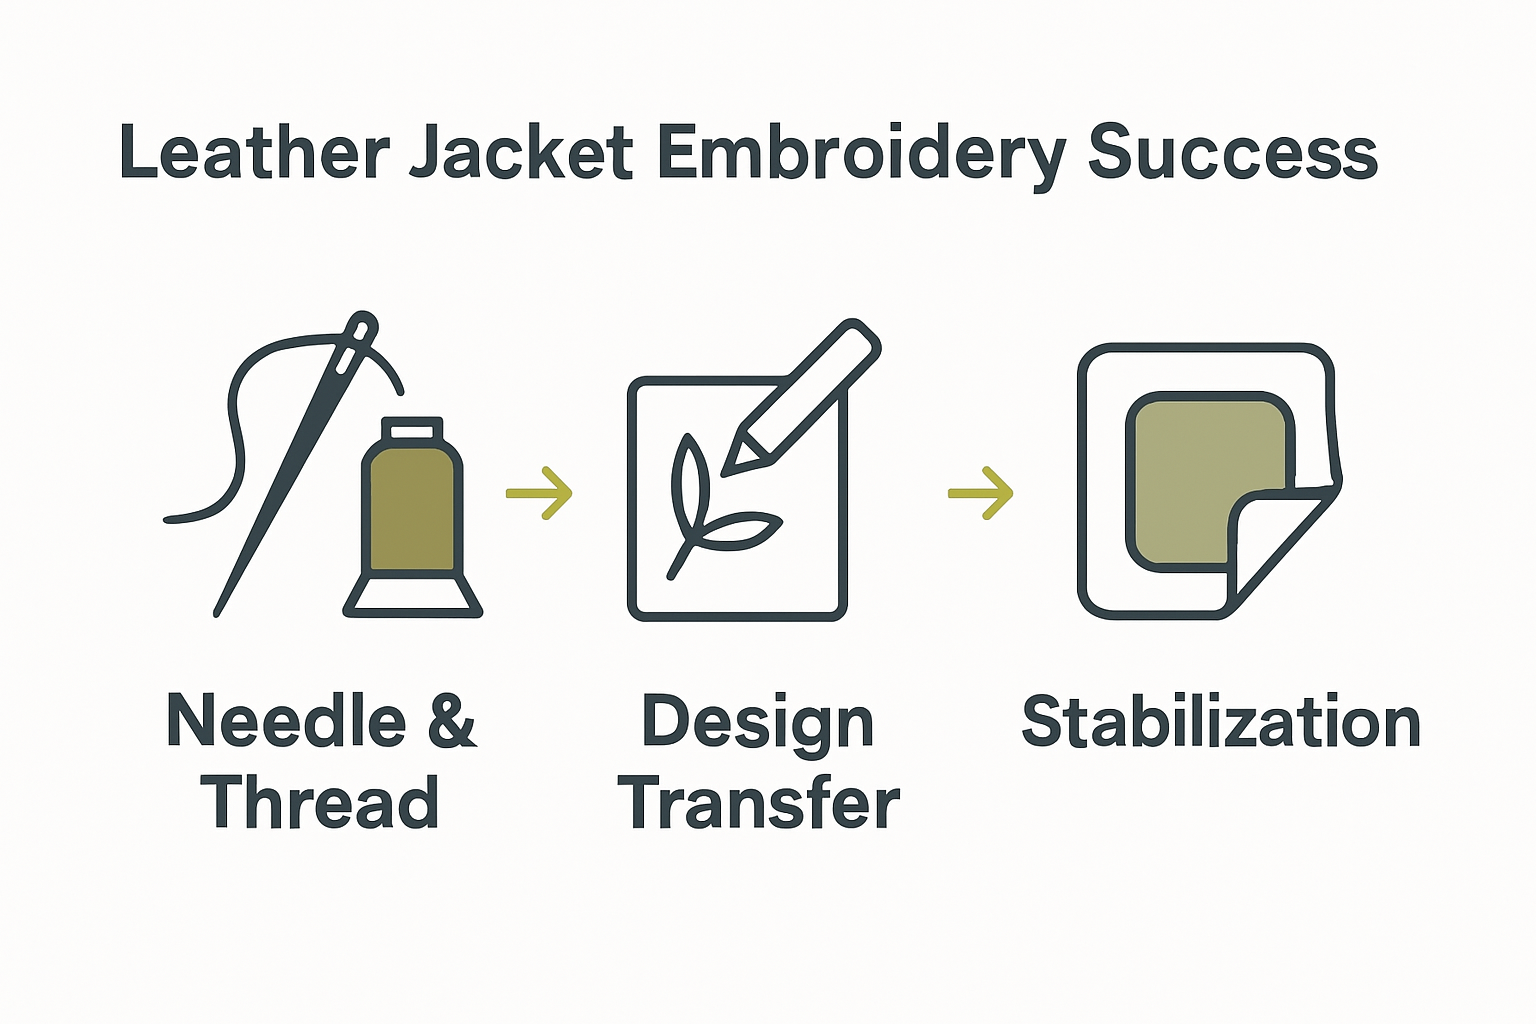
According to Coloreel, selecting the correct equipment is crucial for successful leather embroidery. Start by acquiring specialized leather embroidery needles, specifically size 80/12, which are designed to minimize permanent damage to the leather’s surface. These needles have a thin, sharp wedge point that creates minimal punctures while allowing smooth stitching.
Next, choose your threads carefully. Polyester threads are recommended for their exceptional strength and durability on leather surfaces. When selecting an embroidery design, remember to opt for lighter patterns with fewer dense stitches to preserve the leather’s natural texture and prevent unnecessary stress on the material. As Emblibrary suggests, using a medium-weight cutaway stabilizer will provide additional support during the embroidery process.
Pro tip: Gather your materials beforehand and lay them out in an organized workspace. Having everything within reach will make the embroidery process smoother and more enjoyable. In the next step, we will prepare your leather jacket for the embroidery transformation.
Step 2: Choose and Transfer Your Design
Now that you have gathered your embroidery materials, it is time to select and transfer the perfect design onto your leather jacket. This critical step will determine the final look of your custom piece.
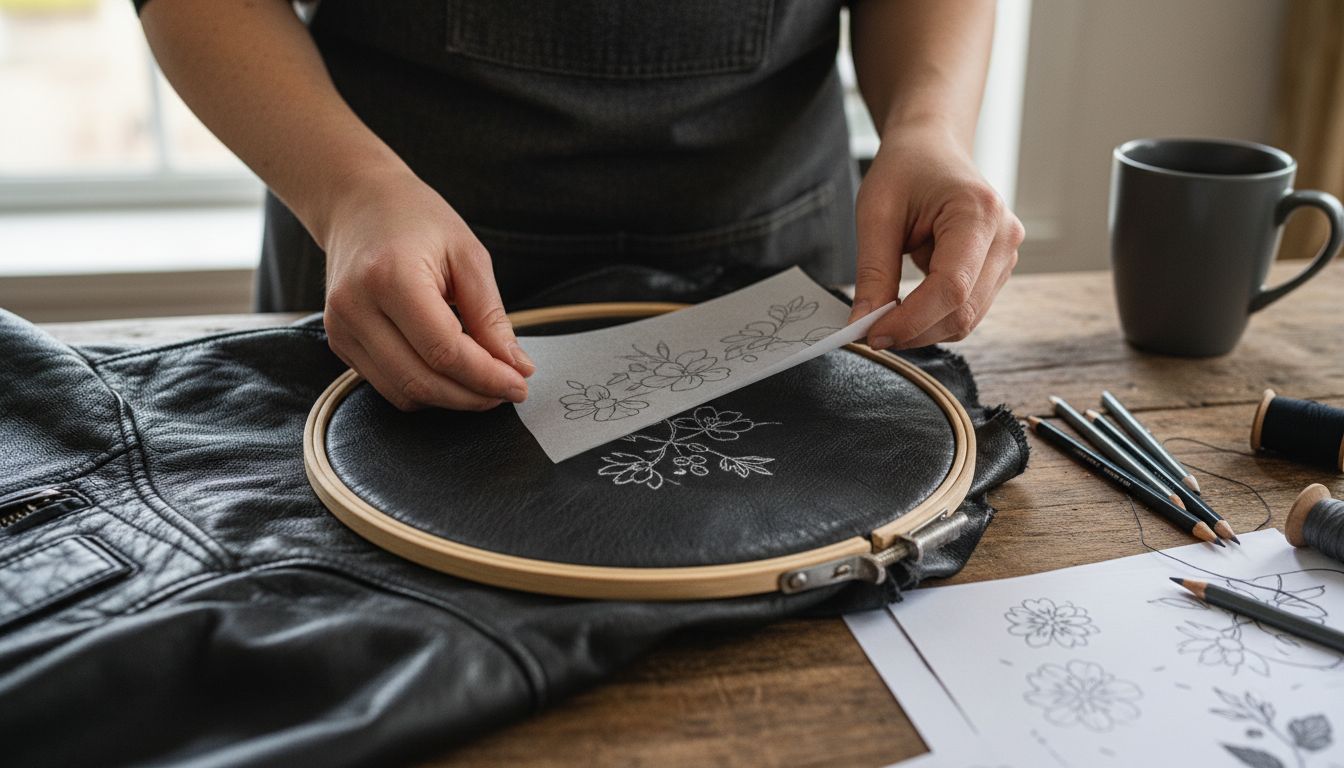
Lana Red Studio recommends a clever technique for transferring designs onto leather. Start by creating a mirrored template of your chosen design. Then, use chalk to trace the design onto baking paper, which allows for precise and easy transfer. Carefully rub the chalk design onto the leather surface, ensuring clean and accurate placement.
As suggested by eHow, when selecting your design, simplicity is key. Opt for patterns with fewer complex details to prevent puckering and maintain the leather’s integrity. Use tracing paper and a tracing pencil to outline your design, making sure the lines are light and precise. Once you have your design ready, secure the leather in an embroidery hoop to maintain consistent tension during the transfer and stitching process.
Pro tip: Always test your design transfer method on a small, inconspicuous area of the leather first. This practice run will help you perfect your technique and avoid potential mistakes on the main design area. In the next step, we will prepare to start the actual embroidery process.
Step 3: Prepare the Leather Jacket Surface
With your design selected, the next crucial step is preparing your leather jacket for embroidery. This preparation ensures a smooth, stable surface that will showcase your custom design beautifully.
According to Coloreel, the key to successful leather embroidery lies in proper stabilization. Use magnetic hoops to prevent leaving unwanted marks on your jacket and apply a cut-away backing with adhesive spray to create a stable foundation. [Learn more about maintaining smooth leather appearance], which is essential for a professional finish.
As recommended by Emblibrary, choose a medium-weight cutaway stabilizer and apply temporary spray adhesive to secure the leather and prevent shifting during stitching. Make sure to smooth out any wrinkles or bubbles in the stabilizer to create a flat, even surface. Place your leather carefully in the embroidery hoop, ensuring it is taut but not stretched, which could distort your design or damage the material.
Pro tip: Work in a clean, well-lit area and handle the leather gently. Take your time with the preparation to avoid unnecessary stress on the material. The extra care you put into this step will directly impact the quality of your final embroidered design.
Get ready to bring your creative vision to life in the next exciting step.
Step 4: Stitch Your Embroidery Pattern
With your leather jacket prepared, you are now ready to transform your design into a stunning embroidered masterpiece. This step requires patience, precision, and a steady hand to bring your creative vision to life.
Lana Red Studio offers an innovative technique for creating dimensional embroidery. Consider applying textile glue to a thin rope to create a raised design foundation. Then, carefully cover the rope with embroidery thread, ensuring each stitch is tight against the rope to achieve a beautiful three dimensional effect. [Learn how to remove wrinkles from leather jackets] to ensure a smooth working surface during this delicate process.
According to eHow, use a 70/10 needle and thin embroidery floss for the best results. Maintain consistent tension with each stitch to prevent puckering and ensure a smooth finish on the leather surface. Start from the center of your design and work outward, using simple straight or satin stitches that complement the leather’s natural texture.
Pro tip: Work slowly and deliberately. Take breaks to rest your hands and check your progress frequently. Embroidery is an art that rewards patience and attention to detail. In the next step, you will learn how to finish and secure your beautiful new custom leather jacket.
Step 5: Check and Secure Embroidered Details
After carefully stitching your embroidery, the final step is to meticulously inspect and secure your work to ensure a professional and long-lasting custom design. This stage transforms your careful craftsmanship into a polished, durable piece of wearable art.
Lana Red Studio recommends allowing the textile glue to dry completely overnight, ensuring that your raised embroidery design is firmly set. Take time to examine each stitch, making sure the embroidery thread fully covers any underlying rope or foundation material. Customize and adjust the design as needed to match your personal aesthetic. [Explore our custom motorcycle black and grey jacket] for inspiration on personalized leather styles.
According to eHow, use a tear-away stabilizer to reinforce your embroidery and prevent unraveling. Carefully trim any excess stabilizer, ensuring you do not cut into the leather or disturb the embroidery stitches. Check that all stitches are tight, even, and securely anchored to maintain the integrity of both the embroidery and the leather jacket.
Pro tip: Inspect your work under good lighting and from multiple angles. Gently run your fingers over the embroidery to feel for any loose threads or uneven areas. Your patience in this final stage will ensure a professional finish that will make your custom leather jacket truly stand out.
Elevate Your Style with Custom Leather Jackets from Maker of Jacket
Embroidery on leather jackets demands precision and the right materials to achieve that unique, personalized look. If mastering leather jacket embroidery is your goal, you understand the challenges of needle selection, thread durability, and stabilizing the leather surface. These details matter when you want your design to stand out without damaging the jacket or sacrificing comfort.

Discover a world of premium customizable leather jackets at Maker of Jacket. Browse the extensive Mustang jacket collection for designs that inspire your creativity or choose from the broader Maker of Jacket’s collection to find the perfect canvas for your next embroidery project. Act now to explore styles that bring your custom embroidery vision to life with high quality, expert craftsmanship, and worldwide free shipping.
Take the next step today to create or enhance your personalized leather jacket experience by visiting https://makerofjacket.com and turn your creative ideas into wearable art.
Frequently Asked Questions
What materials do I need for leather jacket embroidery?
Gather specialized leather embroidery needles, size 80/12, and polyester threads for durability. Additionally, include a medium-weight cutaway stabilizer and adhesive spray to support your embroidery work.
How do I choose the right design for my leather jacket?
Select a simple design with fewer complex details to avoid puckering. Consider using tracing paper to outline your design lightly before transferring it to the leather jacket for better precision.
What steps should I take to prepare my leather jacket for embroidery?
Start by using magnetic hoops to stabilize your jacket, and apply a cut-away backing with adhesive spray. Ensure the leather is smooth and wrinkle-free, and maintain consistent tension when securing it in the embroidery hoop.
How do I stitch the embroidery pattern onto the leather?
Use a 70/10 needle and thin embroidery floss for best results, starting from the center of your design. Work slowly, maintaining consistent tension with each stitch to create a smooth finish, focusing on straight or satin stitches that complement the leather’s texture.
What should I do after finishing the embroidery to secure the details?
Inspect your embroidery for any loose threads and ensure all stitches are tight. Use a tear-away stabilizer to reinforce your design, trimming any excess while being careful not to cut into the leather or disturb the stitches.
How can I enhance my embroidery with a three-dimensional effect?
Apply textile glue to thin rope for a raised design foundation before covering it with embroidery thread. Make sure each stitch is tight against the rope to achieve a beautiful three-dimensional effect.
