How to Repair Leather Scratches: Restore Jackets Easily
Did you know that over 60 percent of people own at least one leather jacket, yet most feel unprepared to repair scratches or scuffs themselves? Scratched or worn leather can make a favorite jacket look old long before its time. With the right tools and techniques, you can restore your jacket’s smooth finish and keep it looking sharp for years to come.
Quick Summary
| Key Point | Explanation |
|---|---|
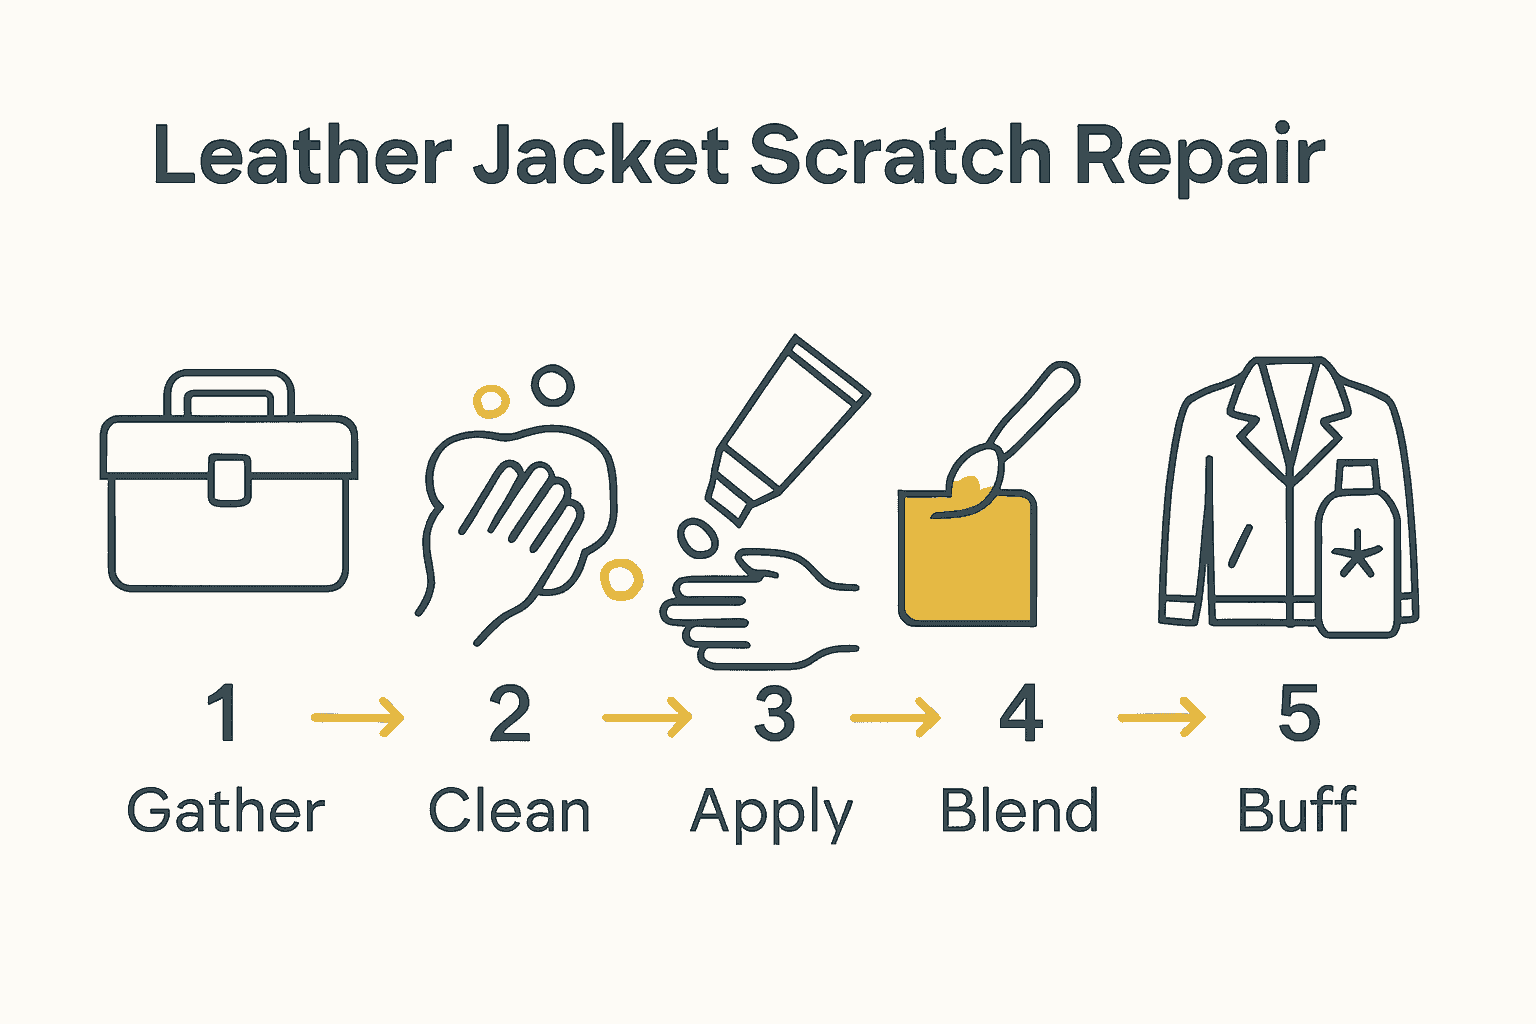
| 1. Gather essential repair materials | Assemble a complete leather repair kit including cleaner, conditioner, and filler to ensure effective repair. |
| 2. Clean the scratched area thoroughly | Use a gentle cleaning solution and soft cloth to prep the leather surface without oversaturating. |
| 3. Apply conditioner or filler based on scratch depth | Light scratches need conditioner, while deeper ones require a filler for proper repair. |
| 4. Blend color for seamless repair | Match and layer color restorers carefully to achieve an undetectable finish on the repaired area. |
| 5. Buff and protect with wax or polish | Seal the repaired area using wax or polish, then regularly condition to maintain leather quality and appearance. |
 |
|
Table of Contents
- Step 1: Gather Essential Repair Materials
- Step 2: Clean And Prepare The Scratched Area
- Step 3: Apply Leather Conditioner Or Filler
- Step 4: Blend And Color-Match The Repair
- Step 5: Buff And Protect The Restored Surface
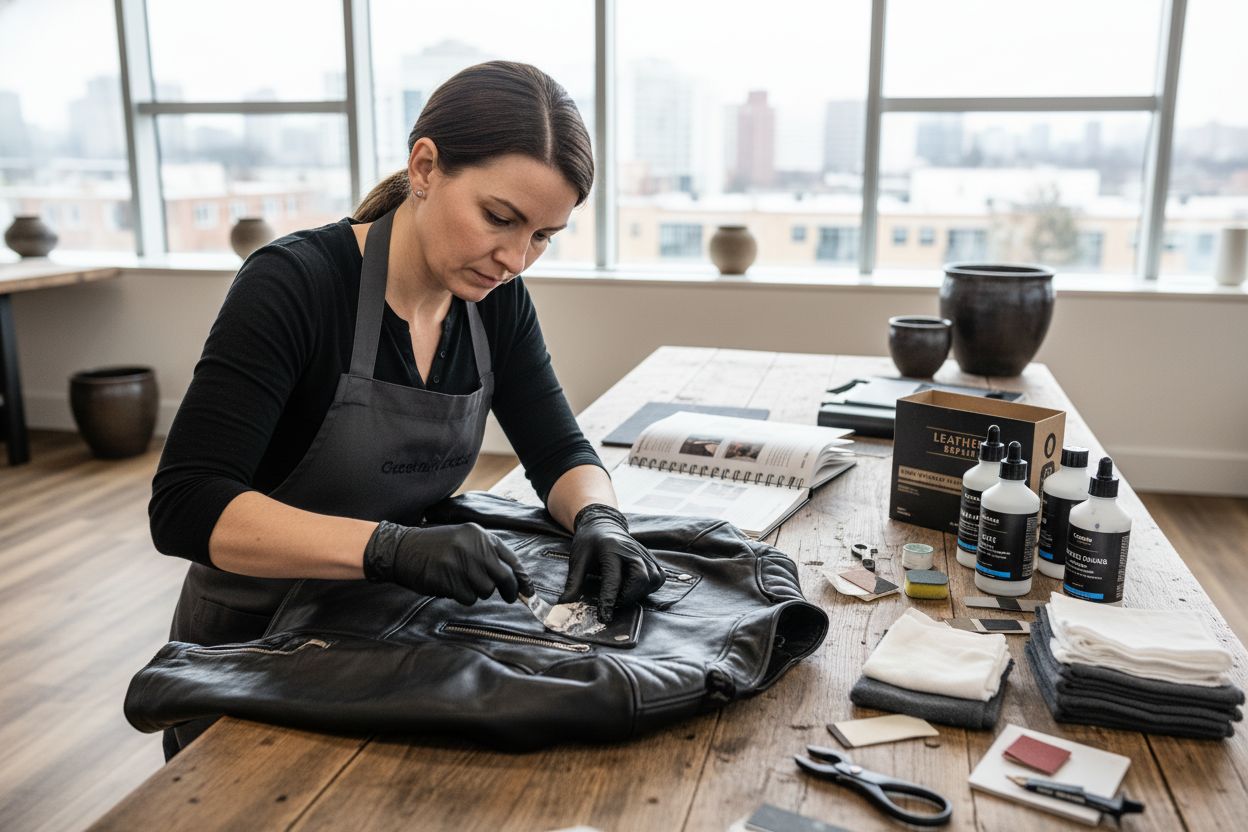
Step 1: Gather essential repair materials
You are about to restore your leather jacket by gathering the right materials. According to research from ThredUp, having a complete leather repair kit is crucial for successfully addressing those annoying scratches and scuffs.
Start by collecting a comprehensive set of repair supplies. Your toolkit should include a leather repair kit with specialized fillers and color restorers. You will also want soft microfiber cloths and cotton swabs for precision application. These tools will help you clean, fill, and restore your leather jacket with professional results.
Key materials you will need include:
Here is a summary of essential repair materials and their purpose:
| Material | Function | Tips for Use |
|---|---|---|
| Leather cleaner | Preps surface for repair | Test first on hidden area |
| Leather conditioner | Restores moisture, suppleness | Apply evenly, buff gently |
| Fine grit sandpaper | Smooths damaged area | Use lightly, avoid over-sanding |
| Leather filler or compound | Fills deep scratches | Apply in thin layers |
| Color matching leather dye | Restores original color | Build color in thin coats |
| Soft cotton cloths | Cleans & buffs leather | Use separate cloths for each product |
| Cotton swabs | Precise application | Good for edges & small spots |
| White vinegar, olive oil | Household cleaning/conditioning | Use sparingly, test first |
- Leather cleaner (to prep the surface)
- Leather conditioner
- Fine grit sandpaper
- Leather filler or repair compound
- Color matching leather dye
- Soft cotton cloths
- Cotton swabs
As recommended by Elite Jacket, consider adding some household items like white vinegar and olive oil to your repair arsenal. These can help with cleaning and conditioning leather surfaces.
Pro Tip: Always test your repair materials on a small hidden area first to ensure color and texture compatibility.
With your materials assembled, you are now ready to start the repair process and breathe new life into your favorite leather jacket. The next step will involve carefully cleaning and prepping the damaged area for restoration.
Step 2: Clean and prepare the scratched area
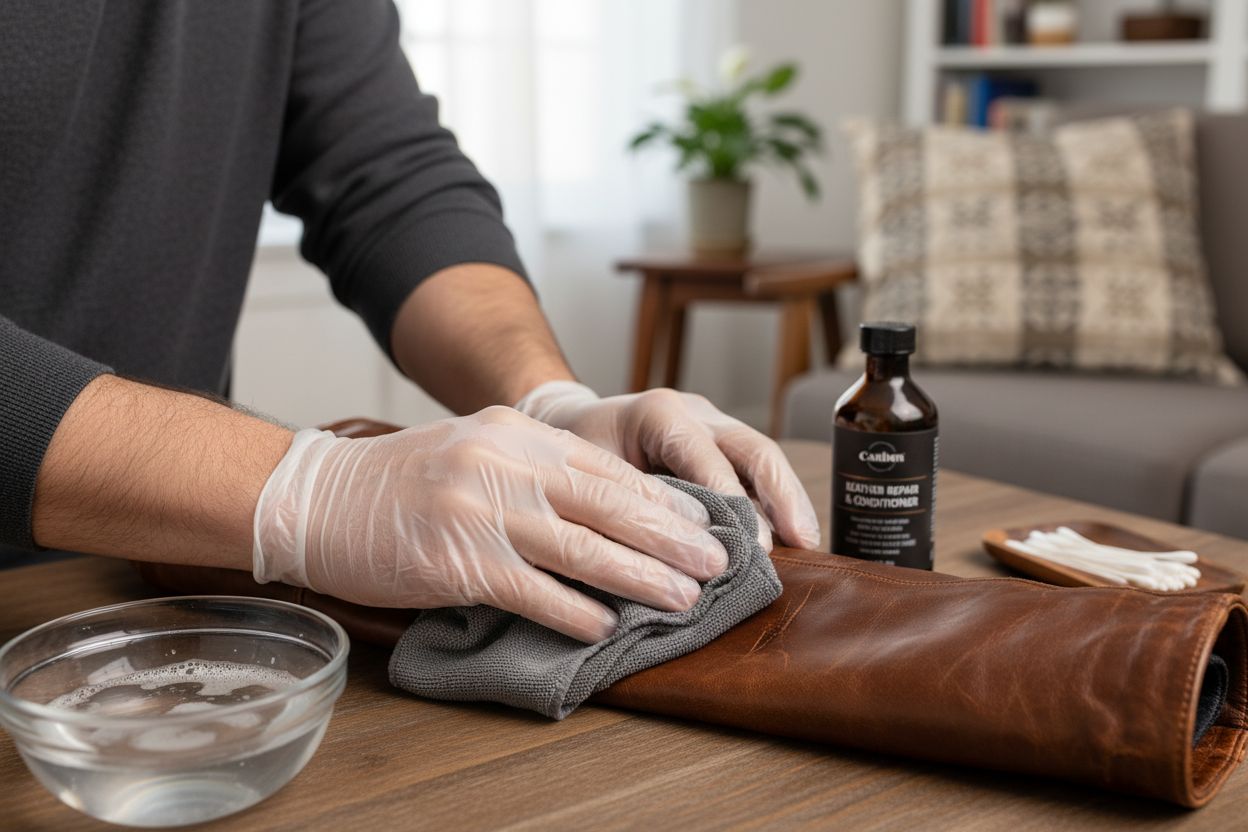
Now that you have gathered your repair materials, it is time to prepare your leather jacket for restoration. According to Elite Jacket, proper cleaning is the critical first step in any successful leather repair process.
Begin by selecting a soft microfiber cloth and a gentle cleaning solution. Experts recommend using baby shampoo or specialized saddle soap mixed with distilled water. This gentle approach ensures you remove dirt and debris without damaging the leather surface.
Carefully wipe the scratched area using light circular motions. Your goal is to clean the surface thoroughly without oversaturating the leather.
 Hedonist Style emphasizes the importance of a delicate touch during this process. Use minimal moisture and avoid rubbing aggressively.
After cleaning, allow the leather to air dry completely. This step is crucial because moisture can interfere with subsequent repair steps. Place the jacket in a well-ventilated area away from direct sunlight or heat sources.
Pro Tip: Always test your cleaning solution on a small hidden area first to ensure it does not discolor or damage the leather.
Once the surface is clean and completely dry, you will be ready to assess the scratch and begin the actual repair process. Your carefully prepared leather jacket is now primed for restoration.
Step 3: Apply leather conditioner or filler
With your leather jacket cleaned and prepped, you are ready to address those unsightly scratches. According to Decrum, the approach varies depending on the scratch depth.
For light surface scratches, start by applying a high-quality leather conditioner like Chamberlain’s Leather Milk. Gently massage the product into the scratched area using soft circular motions. This technique helps replenish moisture and can often fade minor surface imperfections.
Deeper scratches require a more targeted approach. Elite Jacket recommends using a leather filler or balm applied with a palette knife or cotton swab. Work the filler carefully into the scratch, ensuring smooth and even coverage. Allow the product to dry completely before moving to the next step.
Once the filler has dried, gently buff the area with a soft cloth to blend the repair seamlessly.
For added restoration, consider using a touch-up leather dye that matches your jacket’s color. Finish the process by applying a final layer of leather conditioner to restore flexibility and protect the repaired area.
Pro Tip: Always test your leather filler or conditioner on a hidden spot first to ensure color and texture compatibility.
Learn more in our guide on how to apply leather conditioner to keep your jacket looking its best. The next step will involve final buffing and assessing your repair work.
Step 4: Blend and color-match the repair
With the leather filler applied, your next crucial step is making the repair virtually invisible. This process requires patience and a keen eye for detail to ensure your leather jacket looks seamless and professionally restored.
Start by carefully examining the repaired area in good natural light. Your goal is to create an undetectable patch that matches the jacket’s original color and texture. Select a leather dye or color restorer that precisely matches your jacket’s shade. Pro leather repair specialists recommend testing the color on a hidden interior section first to confirm an exact match.
Using a small foam applicator or cotton swab, apply the color restorer sparingly. Work in thin layers rather than one thick application. This technique allows you to gradually build color and prevent obvious color differences. Gently blend the edges of the repair area to create a smooth transition that disappears into the surrounding leather.
Allow each color layer to dry completely before adding another. This methodical approach prevents color bleeding and ensures a professional looking repair. Take your time and be patient with the process. Multiple light applications will always look more natural than a single heavy coat.
Pro Tip: Natural light is your best friend when color matching. Avoid fluorescent or harsh indoor lighting that can distort color perception.
Once you are satisfied with the color blending, you will move on to the final protective steps to seal and preserve your leather jacket repair.
Step 5: Buff and protect the restored surface
You are now at the final stage of your leather jacket restoration. According to Nick’s Boots, sealing and protecting your repair is crucial for maintaining the jacket’s appearance and preventing future damage.
Begin by selecting a high-quality leather wax or polish that matches your jacket’s color and finish. Using a clean soft cloth, apply the protective product in gentle circular motions. Work slowly and methodically to ensure even coverage across the repaired area and surrounding leather.
Carefully buff the surface with a separate clean cloth to create a smooth protective finish. This process not only enhances the leather’s appearance but also creates a protective barrier against future scratches and wear. Elite Jacket recommends regular conditioning every few months to maintain the leather’s flexibility and shine.
Pay special attention to how you store your jacket moving forward. Keep it away from direct sunlight and sharp objects that might cause new scratches. Ideally, store the jacket in a cool dry place on a padded hanger to maintain its shape and protect the newly restored surface.
Pro Tip: Use a breathable garment bag for storage to prevent dust accumulation while allowing air circulation.
With these final steps complete, your leather jacket has been successfully restored and protected. Regular maintenance will help preserve its appearance and extend its lifespan.
Restore Your Leather Jacket With Confidence—Or Upgrade To Something Even Better
After learning how to repair your leather jacket’s scratches and scuffs, you may still worry about deep damage, color mismatches, or keeping your favorite jacket looking fresh year after year. Many people want to save time, avoid costly mistakes, or simply desire the flawless look and feel of brand new leather. That’s where Maker of Jacket can help. Our Maker of Jacket’s collection features a wide selection of high-quality leather jackets built to last and customizable to your every need, providing a hassle-free upgrade when home repair is not enough.

Why settle for less when you can enjoy worldwide free shipping, trusted craftsmanship, and a style tailored to you? Browse our extensive selections—including classic bikers, bombers, and premium designer options—from the comfort of home. Visit Maker of Jacket today to discover your next statement piece, or explore our Mustang jacket collection for something truly unique. The perfect leather jacket is just a click away. Secure your next favorite now before exclusive offers end.
Frequently Asked Questions
How can I gather the right materials to repair leather scratches?
Start by collecting essential items like leather cleaner, conditioner, fine grit sandpaper, leather filler, and matching dye. Assemble your leather repair kit along with microfiber cloths and cotton swabs to ensure you have everything needed to address the scratches effectively.
What is the first step in repairing scratches on a leather jacket?
The first step is to clean the scratched area thoroughly. Use a soft microfiber cloth and a gentle cleaning solution, such as baby shampoo mixed with distilled water, and wipe the area in light circular motions to remove dirt without oversaturating the leather.
How do I apply leather filler for deeper scratches?
For deeper scratches, use a leather filler or balm applied with a palette knife or cotton swab. Work the filler carefully into the scratch and allow it to dry completely before buffing the area with a soft cloth to blend it seamlessly with the surrounding leather.
What technique should I use to ensure color matching for repair?
Test a color restorer on a hidden interior section of the jacket first to confirm it matches the original color. Use a small applicator to apply the dye in thin layers, allowing each layer to dry completely before adding more, to prevent color bleeding and achieve a smooth transition.
How can I protect my leather jacket after repairs?
Apply a high-quality leather wax or polish to seal and protect the repaired area. Buff the surface with a clean cloth and store your jacket in a cool, dry place on a padded hanger to maintain its shape and protect against future scratches.
How often should I condition my leather jacket after repair?
It’s recommended to condition your leather jacket every few months to maintain its flexibility and shine. Regular conditioning helps to keep the material supple and reduces the likelihood of new scratches forming.
