How to Personalize Motorcycle Jackets for Unique Style
Over 80 percent of American motorcycle riders believe a custom leather jacket makes a ride more memorable. Style and protection matter equally, but nothing compares to wearing gear tailored to your unique personality. If you want your jacket to stand out at every stop, understanding how to personalize and test its features is key. This guide lays out practical steps for selecting materials, creating custom designs, and ensuring your new look holds up both in the garage and on the road.
Table of Contents
- Step 1: Assess Jacket Material And Condition
- Step 2: Select Customization Techniques And Materials
- Step 3: Create Or Source Personalized Designs
- Step 4: Apply Custom Features To Your Jacket
- Step 5: Inspect And Test The Final Customization
Quick Summary
| Essential Insight | Detailed Explanation |
|---|---|
| 1. Assess your jacket’s condition | Check leather quality, seams, and zippers to ensure durability before customizing your motorcycle jacket. |
| 2. Choose suitable materials | Opt for high-quality, leather-compatible customization materials to enhance both appearance and performance. |
| 3. Create original designs | Find or develop designs that reflect your personal style, ensuring they are compatible with your jacket’s leather. |
| 4. Apply features with care | Use precise techniques for adding custom elements to ensure they are securely attached and visually appealing. |
| 5. Inspect customization thoroughly | Conduct a final check of all features under practical conditions to confirm durability and functionality. |
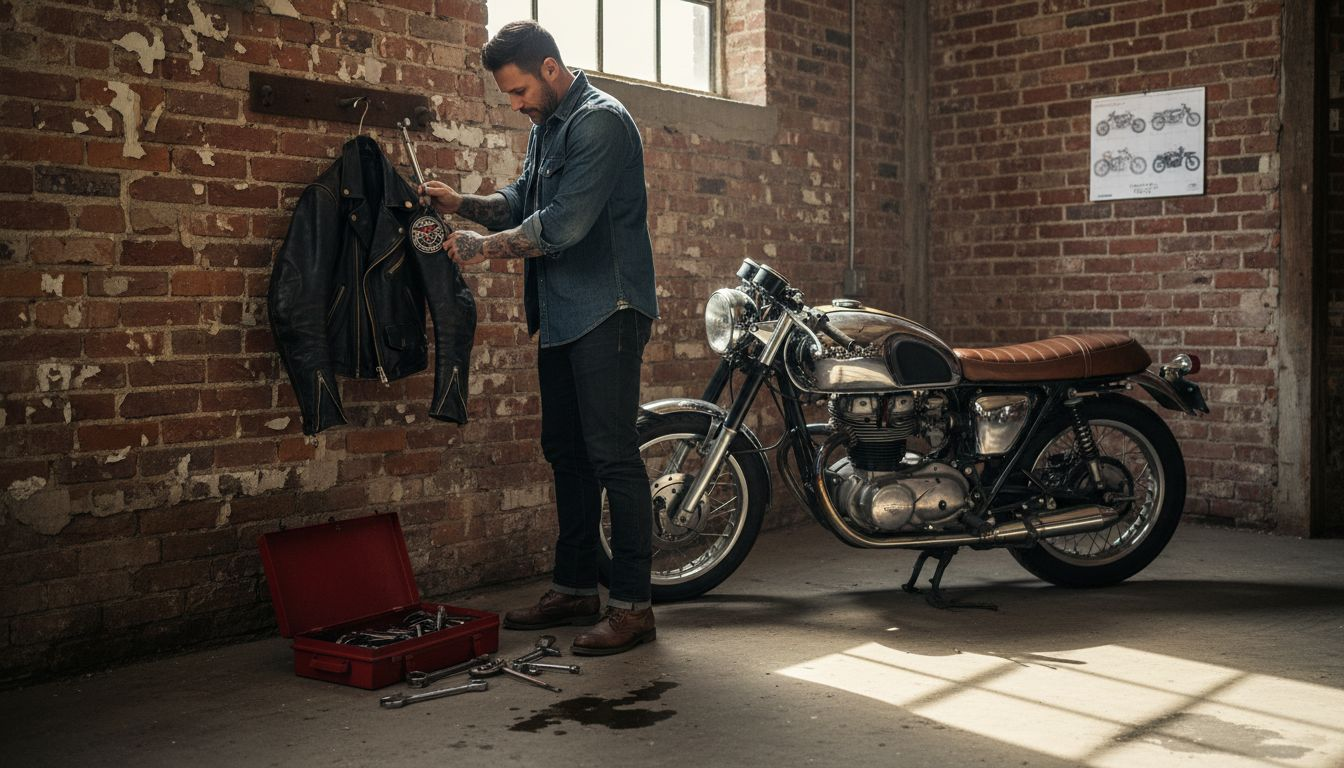
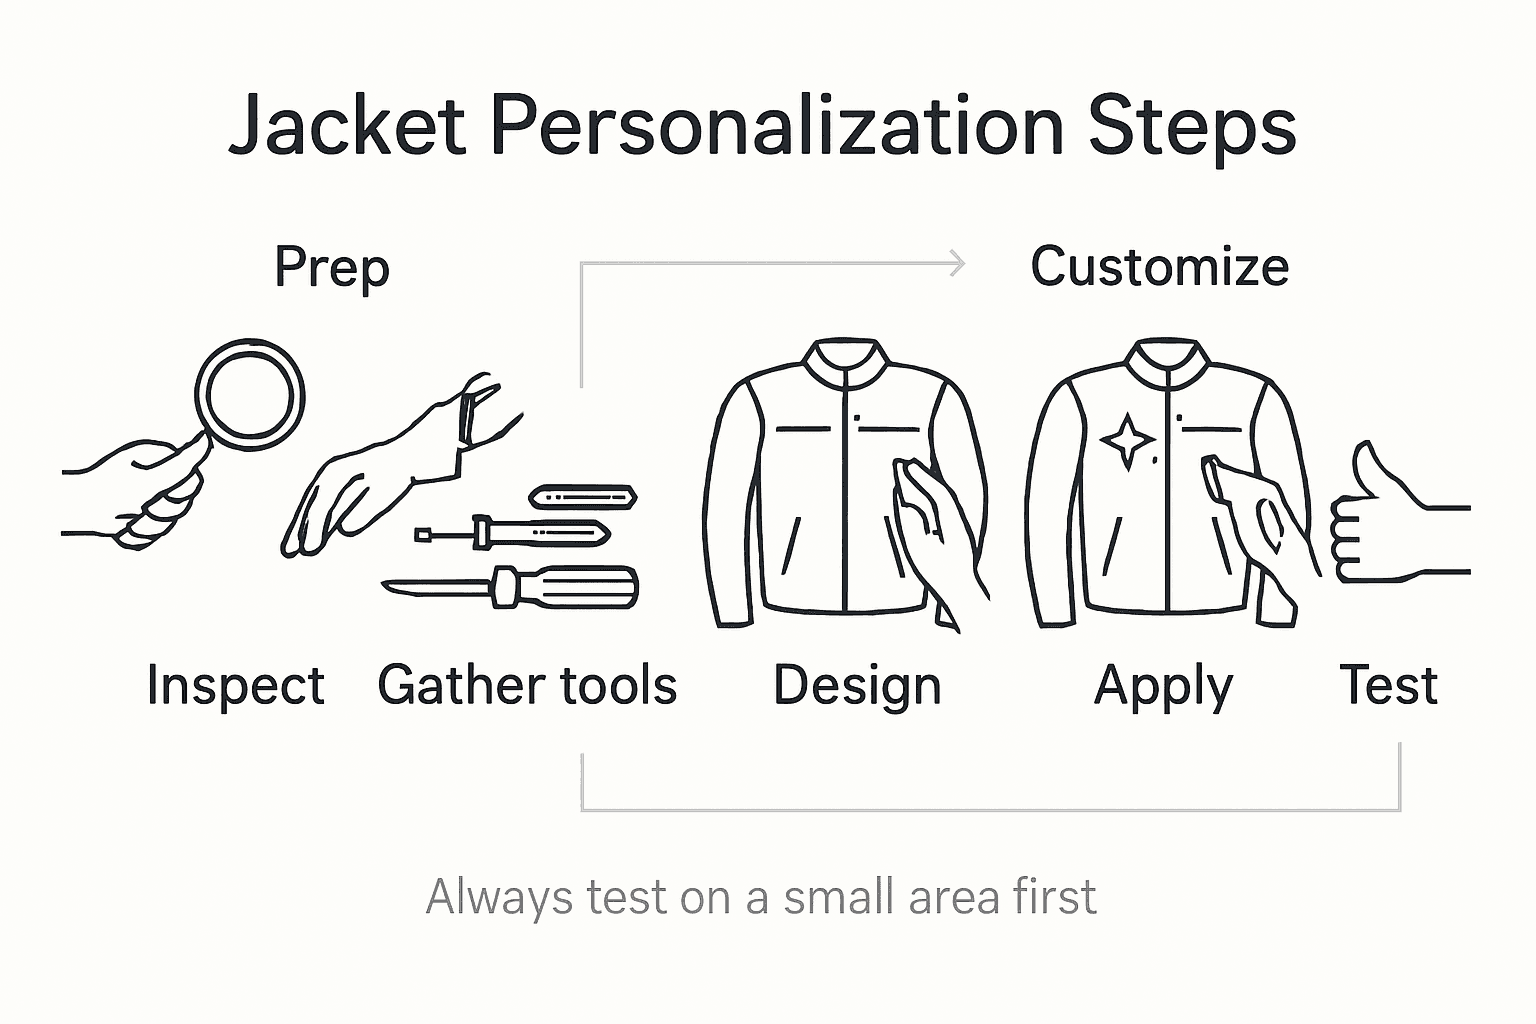
Step 1: Assess Jacket Material and Condition
Assessing the material and condition of your motorcycle jacket is crucial for personalization and long-term performance. Understanding the jacket’s current state helps you make informed decisions about potential modifications and ensures your custom design will look great and last.
Start by carefully examining the jacket’s leather quality. Inspect the surface for signs of wear, such as scratches, discoloration, or areas of thinning material. Run your hands across the leather to feel its texture and thickness. Premium leather should feel substantial and uniform, with minimal variations in grain or color. Pay special attention to high stress areas like elbows, shoulders, and seams, where material durability becomes critical. Look for potential weak points that might need reinforcement before adding custom elements.
Carefully evaluate the jacket’s structural integrity by checking seams, zippers, and liner condition. Loose threads, damaged zippers, or a deteriorating inner lining can compromise both the jacket’s appearance and protective qualities. If you discover significant wear, consider professional repair before pursuing personalization. This initial assessment will guide your customization strategy and help you understand what modifications will work best with your specific jacket.
Pro tip: Always use natural light and handle the jacket gently when performing your initial assessment to detect subtle imperfections that might not be immediately visible.
Step 2: Select Customization Techniques and Materials
Choosing the right customization techniques and materials is critical to transforming your motorcycle jacket into a truly unique piece that reflects your personal style and stands up to the rigors of riding. Your selection will determine both the aesthetic appeal and functional durability of your personalized jacket.
Begin by exploring surface engineering and specialized coating techniques that can enhance your jacket’s appearance and performance. Consider options like leather painting, embroidery, patches, stenciling, and strategic applique work. Each technique offers different levels of complexity and visual impact. Leather painting allows for intricate designs and color transformations, while embroidery provides textured, dimensional customization. Patches and stencils offer quick ways to add personal emblems or artistic elements without extensive technical skills.
When selecting materials, prioritize compatibility with your existing jacket leather. Opt for high quality patches, threads, and paints specifically designed for leather work. Consider the jacket’s color, texture, and intended use when choosing customization materials. Motorcycle jackets require materials that can withstand wind, potential abrasion, and varying weather conditions. Leather-specific paints, durable embroidery threads, and flexible patches will ensure your personalization looks great and lasts through multiple riding seasons.
Pro tip: Always test your chosen customization materials on a small, inconspicuous area of the jacket first to verify color matching and adhesion before committing to your full design.
Here’s a comparison of common customization techniques for motorcycle jackets and their main characteristics:
| Technique | Visual Effect | Durability Level | Skill Required |
|---|---|---|---|
| Leather Painting | Bold colors, artwork | Moderate to high | Intermediate |
| Embroidery | Textured patterns | High | Advanced |
| Patches | Distinct accents | High | Beginner |
| Stenciling | Sharp designs | Moderate | Beginner |
| Applique | Layered visuals | High | Intermediate |
Step 3: Create or Source Personalized Designs
Personalizing your motorcycle jacket is all about finding or creating designs that truly represent your unique style and passion. This step transforms your jacket from a standard piece of gear into a personal statement that tells your individual story.
Begin by exploring textile design principles and digital creation tools that can help you develop or locate the perfect design. Investigate various sources like online design marketplaces, custom graphic platforms, and digital art websites. Consider your personal interests motorcycle culture, your riding experiences, or symbols that resonate with your identity. Whether you are sketching an original design, modifying existing artwork, or commissioning a professional artist, focus on creating imagery that feels authentic to your personal aesthetic.
When sourcing designs, pay close attention to copyright and licensing considerations. Utilize open source platforms and creative commons resources that offer legally accessible artwork you can adapt or use directly. Look for high resolution graphics that will translate well to leather surfaces. Consider the scale and complexity of the design relative to your jacket size. Intricate designs might work beautifully as small accent patches, while bolder graphic elements could make stunning full back or sleeve statements. Remember that not all digital designs will transfer perfectly to leather surfaces, so consider consulting with a professional graphic designer or custom jacket artist who understands textile customization.
Pro tip: Always save multiple design versions and test print small scale prototypes before committing to your final jacket customization.
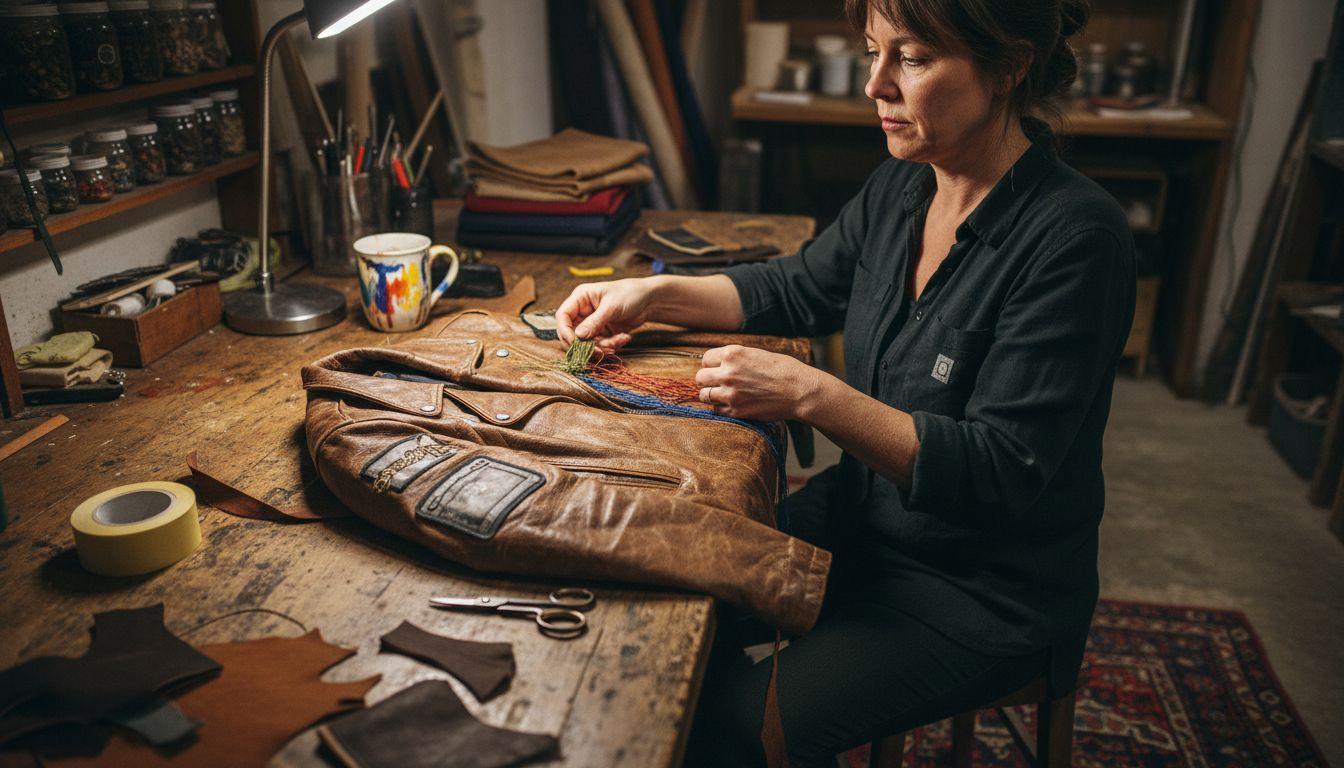
Step 4: Apply Custom Features to Your Jacket
Applying custom features to your motorcycle jacket is the moment where your personal vision comes to life. This transformative process turns your jacket from a standard piece of gear into a unique expression of your individual style and riding personality.
Begin by carefully examining surface engineering techniques for precise application of your chosen customization elements. For patches, use high temperature iron or professional fabric adhesive designed for leather surfaces. When adding embroidery, select leather-compatible thread and use a stabilizer to prevent fabric distortion. If painting is your chosen method, prep the leather surface by cleaning thoroughly and using leather specific paint that allows flexibility and prevents cracking. Each technique requires meticulous attention to detail to ensure your custom features look professional and remain durable through multiple riding seasons.
Prioritize placement and alignment of your custom features to maximize visual impact. Consider classic motorcycle jacket design principles when positioning patches, embroidery, or painted elements. Back panels offer expansive real estate for bold statements, while sleeve and shoulder areas work well for smaller detailed designs. Understand material processing and finishing techniques that help your customizations blend seamlessly with the jacket’s existing leather. Take your time during application and use gentle, consistent pressure to ensure each custom element adheres correctly and looks intentional.
Pro tip: Work in a well lit area with clean hands and use painter’s tape to mark precise positioning before permanently applying any custom features.
Step 5: Inspect and Test the Final Customization
Inspecting and testing your newly customized motorcycle jacket ensures that your creative vision meets practical performance standards. This critical final step validates the durability, appearance, and functionality of your personalized masterpiece.
Quality assurance frameworks provide essential guidelines for evaluating your jacket modifications. Begin by checking each custom feature under bright, natural light to assess color consistency, adhesion quality, and overall craftsmanship. Test the flexibility of patches and painted areas by gently stretching the leather in multiple directions, ensuring that your customizations maintain integrity without cracking or peeling. Pay special attention to high stress areas like shoulders and elbows, where custom elements will experience the most movement and potential wear.
Conduct a comprehensive product testing and inspection process that simulates real riding conditions. Wear the jacket in a controlled environment and move through various riding postures to verify that custom features remain securely attached and do not interfere with your mobility. Check for any rough edges on patches, potential thread loosening in embroidery, or paint flaking that could compromise the jacket’s aesthetic or protective qualities. If you discover any minor imperfections, many can be addressed with careful touch ups or professional repair before your first actual ride.
This table summarizes important checkpoints for testing your customized jacket before first use:
| Feature to Test | How to Test | Why It Matters |
|---|---|---|
| Patch Adhesion | Stretch and flex surface | Prevents detachment during rides |
| Paint Flexibility | Bend and fold leather | Avoids cracking and flaking |
| Seam Integrity | Inspect and tug gently | Ensures long-term durability |
| Liner Condition | Wear and move arms | Maintains comfort and protection |
Pro tip: Photograph your completed customization from multiple angles to document your work and create a baseline for tracking any future wear or changes.
Elevate Your Motorcycle Jacket Customization Experience Today
Personalizing your motorcycle jacket is a rewarding way to showcase your unique style, but it often comes with challenges like selecting the right materials, ensuring durability, and achieving that perfect visual impact. If you want to avoid common pitfalls like poor adhesion, paint cracking, or mismatched patches, it helps to start with a jacket designed for customization and crafted with premium quality.
Explore our moorycle jacket collection from here https://www.makerofjacket.com/product-category/motorcycle/motorcycle-jackets/ for high-quality motorcycle jackets built to endure surface engineering techniques and personalized design elements.

Take the next step in making your vision reality by browsing our expertly crafted biker jackets tailored for customization. Visit Maker of Jacket now to select your perfect base layer that supports your creativity and riding needs. You can also check out our specialized Mustang jacket collection Archives – Maker of Jacket for distinctive styles ready to become your personal statement. Act now to enjoy world-class craftsmanship and worldwide free shipping that brings your personalized motorcycle jacket dreams to life.
Frequently Asked Questions
How do I assess the condition of my motorcycle jacket before personalizing it?
Start by inspecting the leather for signs of wear, such as scratches and thinning areas. Pay attention to high-stress spots like elbows and seams, and check the integrity of zippers and linings to ensure your jacket can handle modifications.
What customization techniques can I use to personalize my motorcycle jacket?
You can use various techniques such as leather painting, embroidery, and adding patches or stencils. Choose techniques based on your desired visual effect and durability, ensuring they are compatible with the jacket’s material.
How can I create or source personalized designs for my jacket?
Begin by brainstorming themes or symbols that resonate with your style, and consider using online design marketplaces or graphic platforms. Always check the licensing of any designs you use to ensure they are legally adaptable.
What should I do to ensure proper application of custom features?
Carefully prepare the leather by cleaning it and using suitable adhesives or paints designed for leather. Take your time with placement to maximize visual impact and ensure that everything adheres well without distortion.
How do I inspect my customized jacket before my first ride?
Conduct a thorough inspection of all custom features, checking for adhesion and flexibility. Move the jacket in various riding positions to verify that everything stays secure and does not impede your movement.
