How to Customize Jackets for Unique Style and Fit
Finding a jacket that truly fits your look and riding style is far more satisfying than settling for something generic. For American motorcycle riders, the search for a personalized jacket begins with selecting an ideal base tailored to both comfort and statement. Choosing a base that fits properly is the foundation for all future customization, making your investment in a truly one-of-a-kind jacket worthwhile. Discover how focusing on accurate fit and superior materials sets the stage for expressive, long-lasting riding gear.
Table of Contents
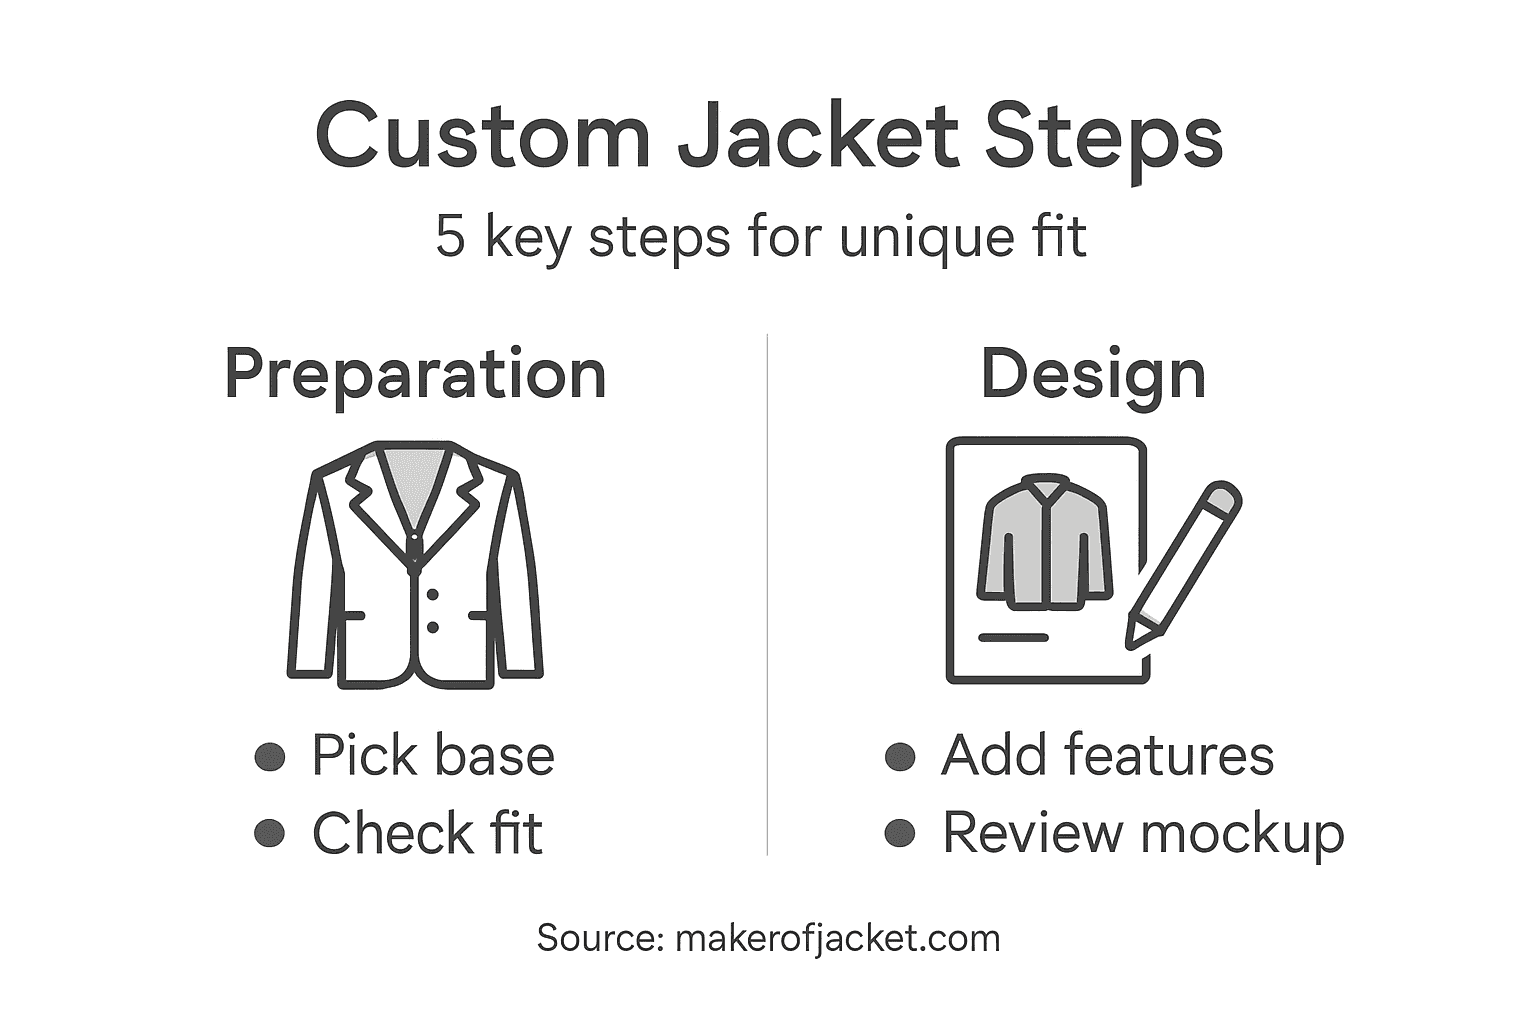
- Step 1: Select The Ideal Jacket Base
- Step 2: Choose Your Customization Options
- Step 3: Design Your Personalized Features
- Step 4: Place And Review Your Custom Order
- Step 5: Verify Your Customized Jacket Upon Delivery
Quick Summary
| Key Point | Explanation |
|---|---|
| 1. Select an Accurate Jacket Base | A well-fitted base jacket determines comfort and customization success, preventing resizing issues and ensuring a good fit for rides. |
| 2. Prioritize Quality Materials | Choosing a jacket with high-quality leather and reinforced stitching will enhance durability and preserve the integrity of your custom designs. |
| 3. Visualize Customization Placement | Strategically plan where customizations go to avoid clutter and maintain a balanced look that reflects your personality and story. |
| 4. Approve Mockups Before Production | Always review digital mockups thoroughly to ensure your design aligns with your vision and prevents costly errors before work begins. |
| 5. Conduct a Thorough Inspection on Arrival | Upon delivery, inspect your custom jacket meticulously for any errors or damage, documenting any issues immediately to address with the vendor. |
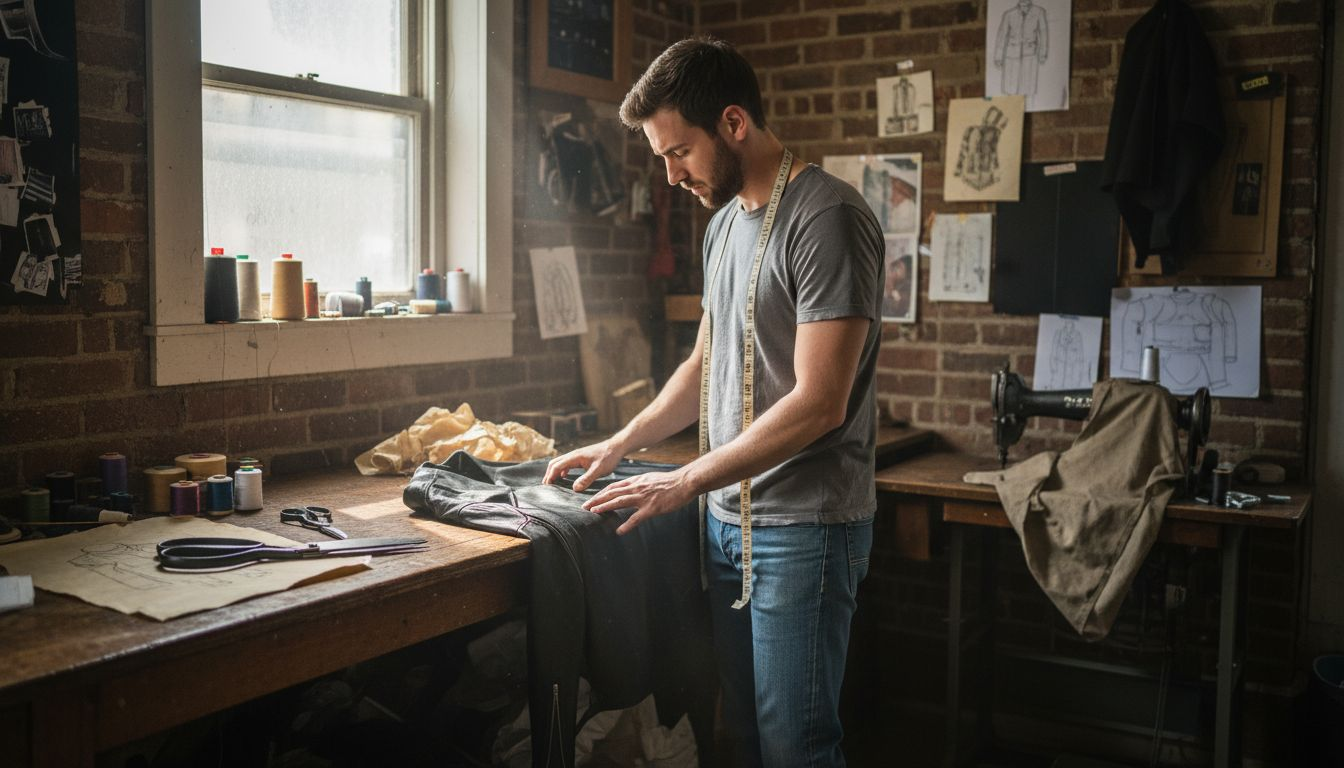
Step 1: Select the ideal jacket base
Finding the right jacket base is where your customization journey actually begins. This isn’t just about grabbing any leather jacket off the rack and hoping it works. The foundation you choose determines everything that comes next, from how your custom details sit to whether you’ll actually want to wear the jacket for eight-hour rides. Getting this step right saves you money, frustration, and ensures your personalized jacket feels as good as it looks.
Start by understanding what a jacket base really means in the customization world. You’re looking for a jacket that fits your body properly right now, not one you hope to grow into or squeeze into. This is the canvas for your vision. Begin with accurate measurements of your chest, shoulders, sleeve length, and overall torso length. The reason riders often end up unhappy with custom jackets isn’t because the customization failed, it’s because they started with a poor fit foundation. Proper jacket measuring techniques help you identify exactly where you fall in sizing charts so you can order or select a base that actually works for your proportions.
Next, consider the material and construction quality of your base jacket. Leather thickness, stitching quality, and hardware durability all matter because they’re what you’re building on. A jacket with weak seams or thin leather will compromise your custom work, no matter how amazing your design is. Different leather types handle customization differently, so understanding leather quality and characteristics helps you select a base that supports your vision. Look for jackets with reinforced stitching, genuine hardware, and leather that feels substantial when you handle it. Your base should feel like a serious starting point, not a cheap throwaway.
Finally, think about style compatibility with your vision. Are you going for a classic leather biker aesthetic with aggressive customizations, or something more subtle like adding personalized patches to a cleaner silhouette? The base jacket’s original design should either align with your end goal or provide a neutral canvas that disappears behind your custom work. Some jackets have too much personality built in and fight against your customization plans, while others seem almost purpose-built for personalization. Try on the base jacket before committing. Move your arms, bend, sit down like you’re on a bike. This is the moment to catch fit issues that photos online never reveal. The best custom jacket starts with a base that fits like it was made for you.
Here’s a summary of jacket base factors that affect customization success:
| Factor | Why It Matters | Impact on Customization |
|---|---|---|
| Accurate Fit | Ensures comfort and function | Prevents costly resizing errors |
| Leather Quality | Supports long-term durability | Preserves custom details |
| Reinforced Stitching | Withstands added embellishments | Avoids seam failures over time |
| Genuine Hardware | Endures repeated use | Maintains jacket integrity |
| Style Compatibility | Aligns with your design vision | Enables seamless personalization |
Pro tip: Order your base jacket a half-size up if you plan to wear thick thermal layers underneath during cold rides, since customization can slightly reduce overall stretch and you’ll thank yourself when winter riding comes around.
Step 2: Choose your customization options
This is where your jacket transforms from standard to uniquely yours. Customization options are the decisions that make your jacket tell your story, whether that’s through patches representing rides you’ve taken, custom stitching that matches your aesthetic, or personalized text that means something to you. Before you get lost in endless possibilities, you need a clear framework for what customization options actually work with your base jacket and what fits your vision.
Start by identifying the major customization categories available to you. Patches and emblems are the most popular choice among riders because they’re versatile and can be added or swapped over time. You might want custom embroidery with your name, initials, or a meaningful phrase stitched directly into the leather. Color customization matters too, whether that means selecting a different leather shade for panels, adding contrast stitching, or choosing hardware finishes like silver, gold, or black. Streamlined customization options help you see exactly what’s possible within your design parameters so you don’t get overwhelmed or disappointed later. Think about your lifestyle as a rider. Are you part of a motorcycle club with specific colors or insignia you want displayed? Do you ride solo and want something that represents your personality without affiliations? Your customization choices should feel authentic to who you are, not forced or trendy. The best customizations are ones you’ll still love wearing three years from now.
Next, think about balance and placement strategically. A jacket with patches covering every available surface can look chaotic and cheapens the overall effect. Instead, choose focal points. Maybe your statement patch goes on the back, with smaller accents on the sleeves and chest. Consider how your customizations will look when you’re sitting on the bike versus standing still. Some riders prioritize visibility in a crowd, while others prefer subtle personalization that only reveals itself up close. The leather quality you selected in your base jacket determines how well it showcases embroidery and how durable patches will be over years of riding. Don’t overcommit to options you haven’t visualized clearly. Many customization shops offer digital mockups or samples so you can see how your ideas actually look before committing. This prevents expensive mistakes and ensures your final jacket matches your expectations. Remember that some customizations are permanent while others, like patches, can be changed or updated as your style evolves.
Pro tip: Start with one or two bold customization elements rather than filling every space, since less crowded designs photograph better, age gracefully, and give you room to add new customizations as your riding journey continues.
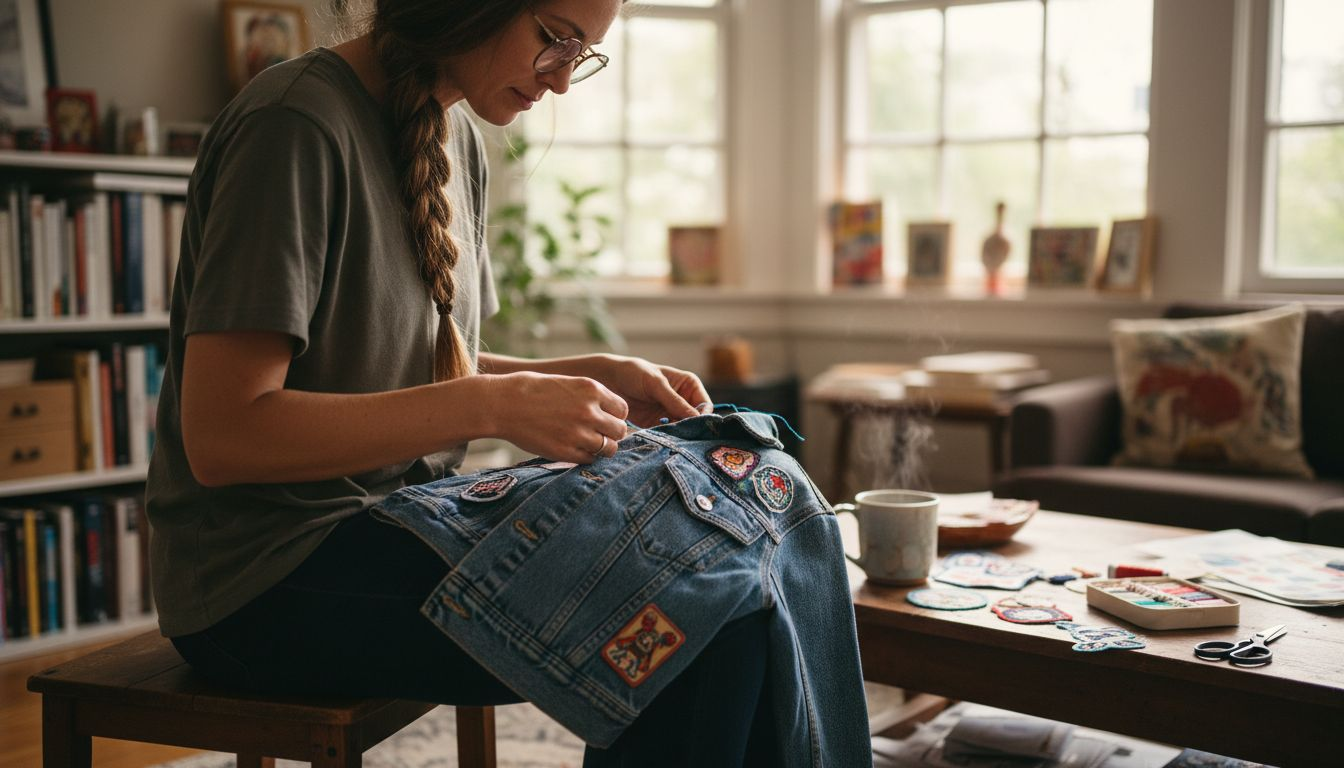
Step 3: Design your personalized features
Now comes the creative part where your jacket truly becomes an extension of yourself. Designing personalized features means moving beyond generic customization to create elements that tell your specific story as a rider. This is about intentionality, not just slapping random patches on leather. You’re building visual language that communicates who you are without saying a word.
Start by gathering inspiration and developing your visual concept. Look at other riders’ jackets you admire, but don’t copy them directly. Instead, identify what speaks to you about their designs. Is it the color palette, the way patches are arranged, the style of embroidery, or how they balance bold and subtle elements? Think about the narrative you want your jacket to tell. Did you earn patches from specific rides or motorcycle clubs? Do you have inside jokes with your riding crew that could translate into custom embroidery? Are there symbols, animals, or imagery that represent your personality or riding philosophy? The best personalized features emerge from genuine aspects of your life, not trendy designs you think look cool. Applied design methods for personalized apparel emphasize research and authenticity as the foundation for creating distinctive pieces that feel meaningful over time. Sketch out your ideas even if you can’t draw well. Rough sketches help you visualize placement, scale, and how different elements interact with each other on your jacket.
Next, consider the technical execution of your design. Some features work better with certain techniques. Hand-stitched embroidery creates character and authenticity but takes time and skill. Machine embroidery offers precision and consistency. Leather appliques add dimension and durability. Patches can be traditional sew-on or modern adhesive backed. Custom stitching patterns along seams or edges add subtle personality without overwhelming your base jacket. Think about color contrast too. Dark leather with light thread creates boldness, while matching tones feel more refined and understated. The scale of your personalized features matters enormously. A small embroidered text on your sleeve hits differently than a massive back panel patch. Consider how visible you want your customizations to be during rides versus when you’re stationary at a bar. Some riders want their jackets to command attention from across a parking lot, while others prefer intimate details that only close friends notice. Your jacket size and the proportion of your frame influence what scale works visually. A large patch that looks perfect on a six-foot-tall rider might overwhelm someone with a smaller frame. Create your design with your actual measurements in mind, not some abstract ideal.
Compare customization techniques to determine the best fit for your personalized jacket:
| Technique | Visual Impact | Durability | Best For |
|---|---|---|---|
| Hand Embroidery | Unique, artisanal look | High, if well done | Names, phrases, custom icons |
| Machine Embroidery | Precise, clean finish | Extremely robust | Large logos or complex designs |
| Leather Appliqué | Raised, textured effect | Very durable | Badges, bold graphics |
| Sew-On Patches | Easy to update styles | Strong if stitched | Club emblems, travel badges |
| Adhesive Patches | Fast application | Lower if not reinforced | Temporary or trial elements |
Finally, approve digital mockups before any permanent work begins. Most quality customization services provide rendered images showing exactly how your design will look on your specific jacket. Use this time to make adjustments. Does the placement feel right? Are colors working together harmoniously? Is the scale proportionate to your jacket and body? This is your last chance to revise before the work becomes real. Small tweaks at this stage prevent regrets later. Build in time for this approval process, especially if you’re working with a customization shop that needs to coordinate between design and execution.
Pro tip: Design your personalized features using the same proportion and color theory you’d use for any visual art, treating your jacket like a wearable canvas where every element should earn its place rather than filling empty space.
Step 4: Place and review your custom order
You’ve selected your base jacket, chosen your customization options, and designed your personalized features. Now comes the critical step of actually submitting your order while ensuring everything is exactly right before it becomes reality. This step separates riders who end up loving their custom jackets from those who regret their choices. Taking time to review thoroughly saves you money, frustration, and shipping delays.
Begin by gathering all your documentation and specifications in one place. You should have your design mockups, color swatches, size measurements, and any reference images that show exactly what you want. Contact your customization vendor and request a formal quote that includes every element of your order. The quote should break down costs for the base jacket, each customization technique, materials, and any rush fees if applicable. Don’t skip this step just to save time. A detailed quote prevents surprises when your invoice arrives. Next, request art proofs or samples that show your design at actual scale on your specific jacket. Artwork review processes ensure your design looks exactly as intended before production begins. Study these proofs carefully. Does the embroidery placement match your vision? Are the thread colors correct? Does the patch scale look right relative to your jacket size? Are there any technical issues you missed, like thread that might catch on something or a design element too close to a seam? This is your last chance to request changes before work starts. Ask specific questions about durability too. How many wash cycles will that embroidery handle? Will adhesive-backed patches hold up through hot summers and cold winters? What’s the vendor’s warranty if something fails prematurely?
When you’re satisfied with the proofs, it’s time to formally place your order. Confirm all details in writing before sending payment. Include your base jacket specifications, exact customization descriptions, approved artwork, delivery address, and timeline expectations. Get a written confirmation with an order number and estimated delivery date. This protects you if there’s confusion later. Ask about the production timeline too. Most custom jacket work takes 3 to 8 weeks depending on complexity, so plan accordingly if you need your jacket by a specific date. Understand the payment terms. Some vendors require full payment upfront, others take deposits. Know their refund or revision policy in case you need changes after placing your order. Finally, keep all communications and confirmations. Take screenshots of your approved designs, save email confirmations, and photograph your proof approvals. These documents prove what you ordered if any disputes arise about quality or accuracy.
Pro tip: Request a detailed timeline with specific production milestones rather than just an end date, so you know when embroidery starts, when patches are applied, and when your jacket ships, allowing you to follow progress and catch issues early if they arise.
Step 5: Verify your customized jacket upon delivery
Your custom jacket has arrived. This is the moment where months of planning and weeks of production finally pay off, but it’s also when you need to stay sharp and methodical. Verification upon delivery is your final quality control checkpoint. Don’t just tear open the box and throw on the jacket in excitement. Take time to inspect every detail systematically before you consider the job complete. This protects you by documenting any issues immediately while you still have recourse with your vendor.
Start your verification process before you even try on the jacket. Open the package carefully and lay the jacket flat on a clean surface. Look at the overall condition. Are there any visible damage to the leather, rips, scuffs, or stains that weren’t there in your approval proofs? Check all seams for loose threads, gaps, or uneven stitching. Run your fingers along embroidery work. Does it feel smooth or are there rough spots where thread wasn’t properly finished? Examine patch placement against your approved design. Is every patch exactly where it should be? Look at the back, sleeves, and chest from multiple angles to catch any alignment issues. Verification processes confirm products meet design specifications before final acceptance, so check that every element of your customization matches what you approved. Count the patches and embroidered pieces. Make sure nothing was missed or substituted. Verify thread colors are exactly what you selected, not close approximations. Check hardware like zippers, snaps, and buttons to ensure they’re all functional and match your specifications. Look at how patches are secured. Stitching should be tight and even. If adhesive was used, patches should sit flat without curling edges or air bubbles.
Next, try on the jacket and assess fit and mobility. Move through your normal riding positions. Can you comfortably extend your arms forward like you’re gripping handlebars? Can you lean back? Does the collar sit right against your neck? Check that customizations don’t interfere with movement. Some riders discover embroidery or patches in unexpected places that catch or rub during actual riding. Make sure the weight distribution feels balanced. A jacket shouldn’t pull to one side. Check the length. Does it cover your hips properly without bunching or riding up? Examine the sleeves again. They should reach your wrist when arms hang naturally. If the fit seems off from what you ordered, document it immediately with photos and measurements. Compare the fit now against the base jacket you selected in Step 1. If the customization work somehow affected sizing or comfort, that’s a vendor issue worth addressing.
Finally, document your verification thoroughly. Take detailed photos of any concerns from multiple angles with good lighting. Keep your original approval proofs and order confirmation to compare against what you received. If everything looks perfect, take some celebratory photos of your finished jacket and keep them for your records. If you found issues, contact your vendor within the timeframe specified in their return policy. Most vendors offer 14 to 30 days to report problems. Be specific about what’s wrong and reference your order number and approval proofs. Professional vendors will work with you to fix legitimate quality issues.
Pro tip: Inspect your jacket under natural daylight rather than indoor lighting, as artificial light can hide color mismatches and thread quality issues that become obvious once you’re wearing the jacket outdoors on an actual ride.
Elevate Your Custom Jacket Experience with Maker of Jacket
Customizing a jacket for a perfect fit and unique style can feel overwhelming. The key challenges include selecting the right base jacket that guarantees comfort and durability, choosing meaningful customization options, and designing personalized features that truly reflect your identity without sacrificing quality. You want a jacket that moves with you on long rides, withstands the test of time, and tells your story at every stitch.
At Maker of Jacket, we understand these challenges and offer an expansive range of high-quality jackets designed to be the perfect canvas for your vision. From the biker-inspired styles to classic cuts, our Maker of Jacket’s collection lets you choose bases crafted for exceptional fit and lasting craftsmanship. We also specialize in tailored customization, empowering you to add patches, embroidery, and unique features that match your style and riding lifestyle precisely. With detailed size guides and a seamless ordering process, you take control of every step toward your ideal jacket.
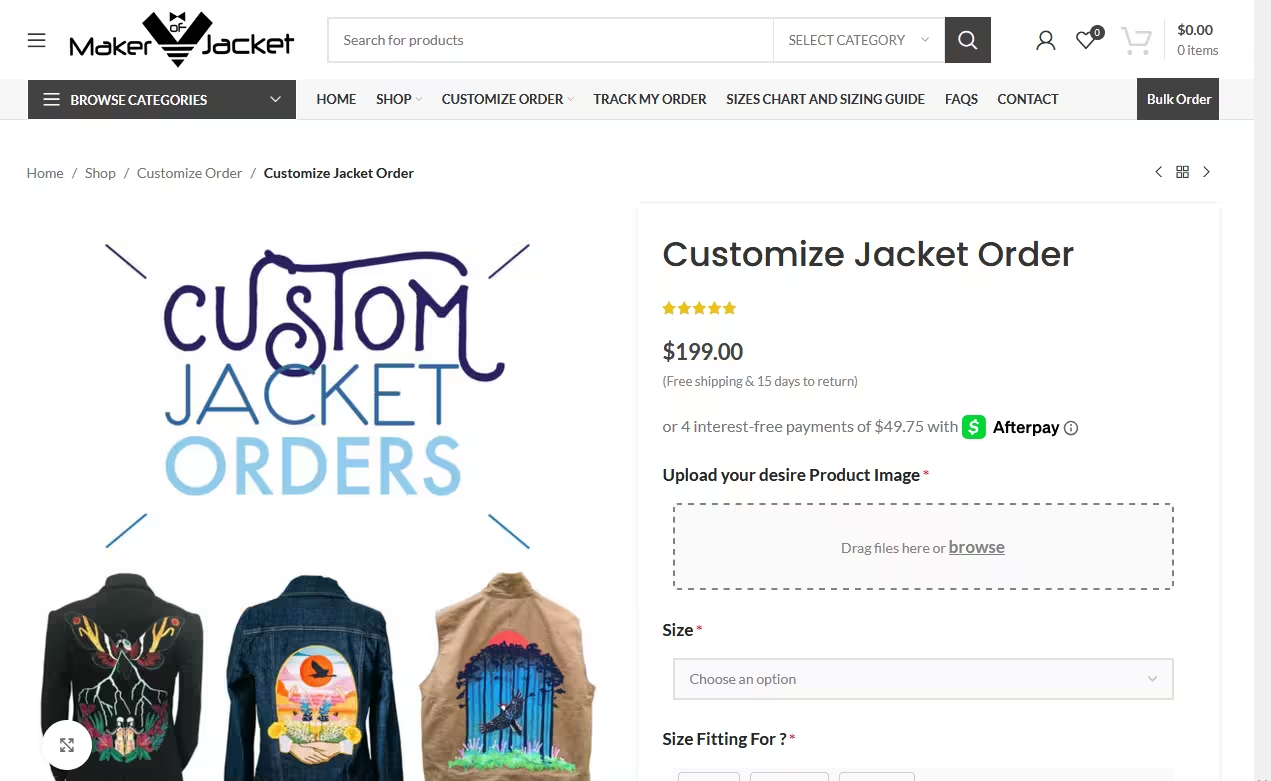
Discover how effortless it can be to create your own statement piece. Visit https://makerofjacket.com now and explore our collections including the stunning Mustang jacket collection. Take advantage of our worldwide free shipping and expert craftsmanship to make your custom jacket dreams a reality today.
Frequently Asked Questions
How do I choose the right jacket base for customization?
Choosing the right jacket base is critical for a successful customization. Start by ensuring that the jacket fits your current body shape and take accurate measurements of your chest, shoulders, sleeve length, and torso length before purchasing. This foundation will set the stage for comfort and style in your final product.
What customization options are available for my jacket?
Common customization options include patches, embroidery, color changes, and hardware finishes. Determine what tells your story as a rider—whether that’s personal patches or unique stitching—and visualize how they will fit together on the base jacket.
How can I ensure my design is executed correctly during customization?
To ensure the integrity of your design, request digital mockups or samples from your customization service. Carefully review these proofs to confirm that patch placements, thread colors, and overall designs match your vision before production begins.
What should I check upon receiving my customized jacket?
When your jacket arrives, carefully inspect it for any visible damage to the leather, patch placement accuracy, and the quality of seams and embroidery. Move around in the jacket to assess comfort and fit, making sure it aligns with your original measurements and intentions.
How can I address issues with my customized jacket after delivery?
If you find any issues upon receiving your jacket, document them with photos and measurements and contact your vendor as soon as possible. Most customization services have a return policy that allows you to report problems, typically within 14 to 30 days of receiving your order.
