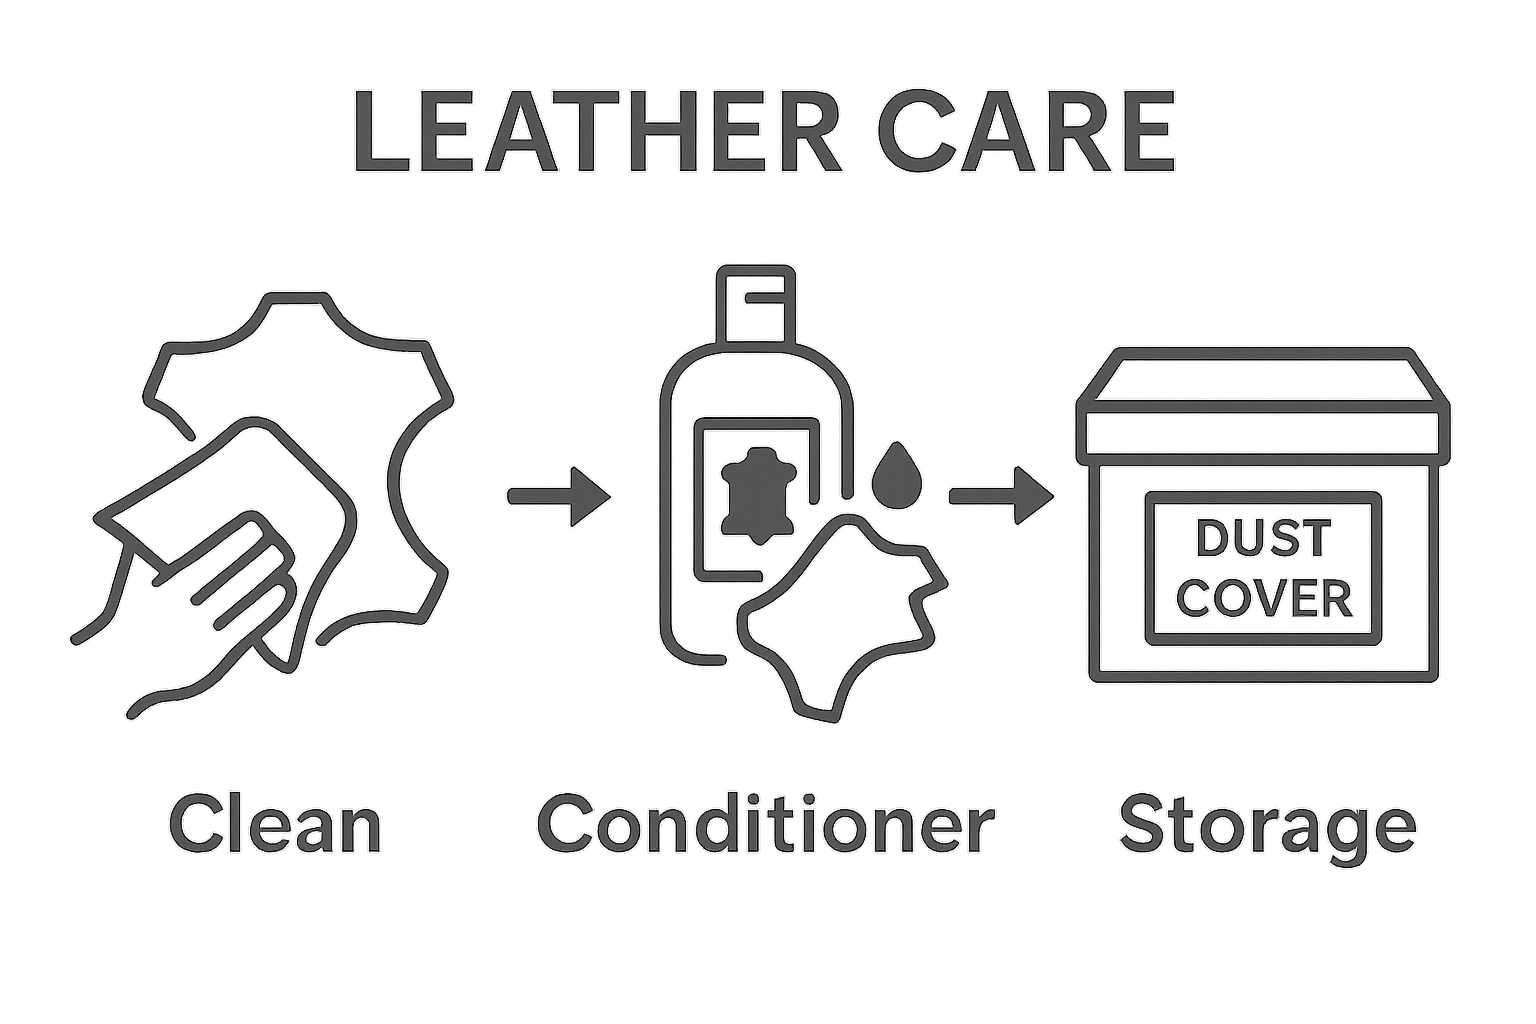
How to Care for Leather: Maintain Your Gear and Fashion
Leather jackets, bags, and shoes look stunning when cared for. And with the right approach, they can last for decades. Most people just wipe their leather with any cloth and call it a day. But even small mistakes can destroy your favorite piece or cut its lifespan in half. A single drop of the wrong cleaner can cause permanent stains or crack the material. Knowing how to properly clean, condition, and store leather keeps it soft and rich for years—and saves you from painful regrets.
Table of Contents
- Step 1: Assess Your Leather Type And Condition
- Step 2: Gather Necessary Cleaning Supplies
- Step 3: Clean Your Leather Thoroughly
- Step 4: Condition The Leather To Restore Luster
- Step 5: Protect Your Leather With Proper Storage
- Step 6: Inspect Regularly For Damage And Wear
Quick Summary
| Key Point | Explanation |
|---|---|
| 1. Assess leather type and condition | Identify your leather’s type and assess its current state to avoid improper care and potential damage during maintenance. |
| 2. Gather appropriate cleaning supplies | Collect specialized tools like soft cloths and pH-neutral cleaner to protect your leather’s quality throughout the cleaning process. |
| 3. Clean with a systematic approach | Use gentle, linear strokes while cleaning to preserve the material’s integrity, ensuring that all dirt is removed without damaging the leather. |
| 4. Condition for restoration | Apply a suitable leather conditioner to replenish lost oils and restore suppleness, enhancing both the look and lifespan of your leather item. |
| 5. Regularly inspect for damage | Conduct thorough inspections to catch minor issues early on, preventing them from becoming significant problems that require extensive repairs. |
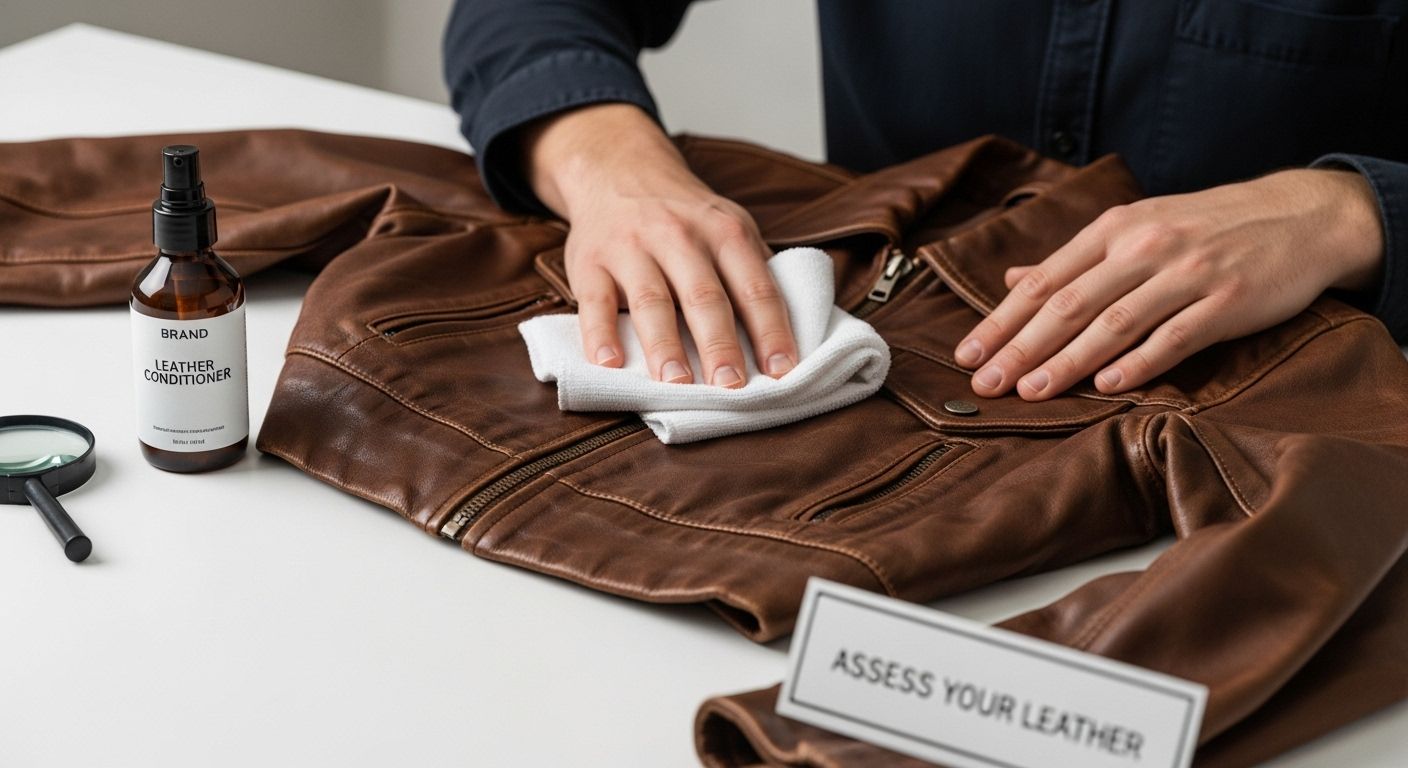
Step 1: Assess Your Leather Type and Condition
Understanding your leather’s specific characteristics is the critical first step in proper maintenance. Different leather types require unique care approaches, and accurately identifying your material prevents potential damage during cleaning and conditioning. Leather is a natural material with distinct properties that respond differently to various treatments.
Start by examining the leather’s surface texture and finish. Smooth leather, found in most jackets and fashion items, has a uniform appearance and feels consistent to the touch. Suede and nubuck, in contrast, have a softer, more textured surface that demands specialized care. Carefully inspect your leather for any existing damage, such as scratches, discoloration, or areas of wear that might require targeted treatment.
Understanding Leather Condition
To determine your leather’s current state, perform a comprehensive visual and tactile assessment. Check for signs of dryness, which appear as slight cracking or a dull, lifeless surface. Leather that feels stiff or shows visible lines indicates it urgently needs conditioning. Check for subtle color variations that might suggest uneven moisture or potential material degradation. Run your hand gently across the surface to feel its suppleness and identify any rough patches.
Consider performing a simple water droplet test to assess leather porosity. Place a tiny drop of water on an inconspicuous area. If the water immediately beads and sits on top, your leather likely has a protective coating. If the droplet slowly absorbs, your leather requires immediate conditioning to restore its protective qualities. Learn more about leather conditioning techniques to ensure proper maintenance and longevity of your favorite leather gear.
Professional leather experts recommend documenting your findings during this assessment. Take clear, well-lit photographs of any imperfections or wear patterns. This documentation helps track leather condition over time and provides a reference point for future maintenance strategies.
Step 2: Gather Necessary Cleaning Supplies
Preparing the right cleaning supplies is a crucial foundation for effective leather maintenance. Before diving into the cleaning process, assembling a comprehensive toolkit ensures you can address your leather’s specific needs without causing accidental damage. Professional leather care requires precision and the right equipment.
Your primary goal in this step is to collect specialized cleaning tools that will protect and preserve your leather’s quality. Start by selecting soft, lint-free microfiber cloths that won’t scratch or leave residue on the leather surface. White or neutral-colored cloths work best, as colored fabrics might transfer dye onto your leather item. Avoid using paper towels or rough materials that could potentially harm the delicate leather surface.
Essential Cleaning Toolkit
For your leather cleaning arsenal, gather mild, pH-neutral leather soap specifically designed for cleaning without stripping natural oils. Avoid household cleaners or harsh chemicals that can cause permanent damage. Distilled water is preferable to tap water, as it lacks minerals that might leave residue. You will also need a soft-bristled brush with natural bristles for gentle dirt removal, particularly useful for textured leather surfaces.
Additional recommended items include a leather conditioner, a clean dry towel for buffing, and protective gloves to keep your hands clean during the process. Explore professional leather care techniques to understand the nuanced approach required for different leather types. Some specialized leather cleaning kits include multiple tools and solutions tailored to specific leather varieties, which can simplify your maintenance routine.
Before beginning the cleaning process, lay out all your supplies on a clean, flat surface. Organize them in the order you will use them, creating an efficient workspace. This preparation prevents interruptions and allows you to focus entirely on carefully treating your leather item. Proper preparation is the hallmark of successful leather maintenance.
To help you prepare for cleaning your leather items, here is a quick overview of essential tools and supplies, along with their specific uses and important notes.
| Tool/Supply | Purpose | Notes |
|---|---|---|
| Microfiber cloth (lint-free) | Removes dust and applies products | Use white or neutral color to avoid dye transfer |
| pH-neutral leather soap | Cleans leather surface without stripping oils | Avoid household cleaners and harsh chemicals |
| Distilled water | Mixes with cleaner, prevents mineral residue | Tap water may leave unwanted deposits |
| Soft-bristled brush | Gently removes dirt, especially for texture | Prefer natural bristles for gentler cleaning |
| Leather conditioner | Restores oils and suppleness | Select based on leather type (smooth, suede, etc.) |
| Dry towel | Buffs and removes excess moisture/conditioner | Use after cleaning and conditioning |
| Protective gloves | Keeps hands clean during process | Not strictly required, but helpful |
Step 3: Clean Your Leather Thoroughly
Cleaning leather requires a delicate touch and systematic approach that preserves the material’s integrity while removing dirt and potential contaminants. Your cleaning technique will directly impact the leather’s longevity and appearance, making precision and patience critical throughout the process. Before beginning, ensure your workspace is clean, well-lit, and provides enough room to maneuver your leather item comfortably.
Start by removing surface dust and loose debris using a soft, dry microfiber cloth. Gently brush the leather in a single direction, using light pressure to prevent grinding particles into the material. Pay special attention to seams, crevices, and areas prone to accumulating dirt. Avoid circular motions that might create uneven wear or additional scratches.
Systematic Cleaning Approach
Prepare a cleaning solution by dampening a clean microfiber cloth with a small amount of specialized leather cleaner. The cloth should be slightly moist, not wet. According to professional leather maintenance techniques, less is more when applying cleaning solutions. Work in small sections, using gentle, linear strokes that follow the leather’s natural grain. This methodical approach ensures even cleaning and prevents oversaturating the material.
After cleaning, immediately use a dry microfiber cloth to remove any remaining moisture. Leather should never be left wet, as excess water can cause permanent damage or discoloration. Allow the leather to air dry naturally at room temperature, away from direct heat sources like radiators or sunlight. Check your cleaned leather under good lighting to ensure you’ve removed all dirt and haven’t created any additional marks during the cleaning process. A successful cleaning will leave your leather looking refreshed, with a subtle, even sheen that indicates proper care and maintenance.
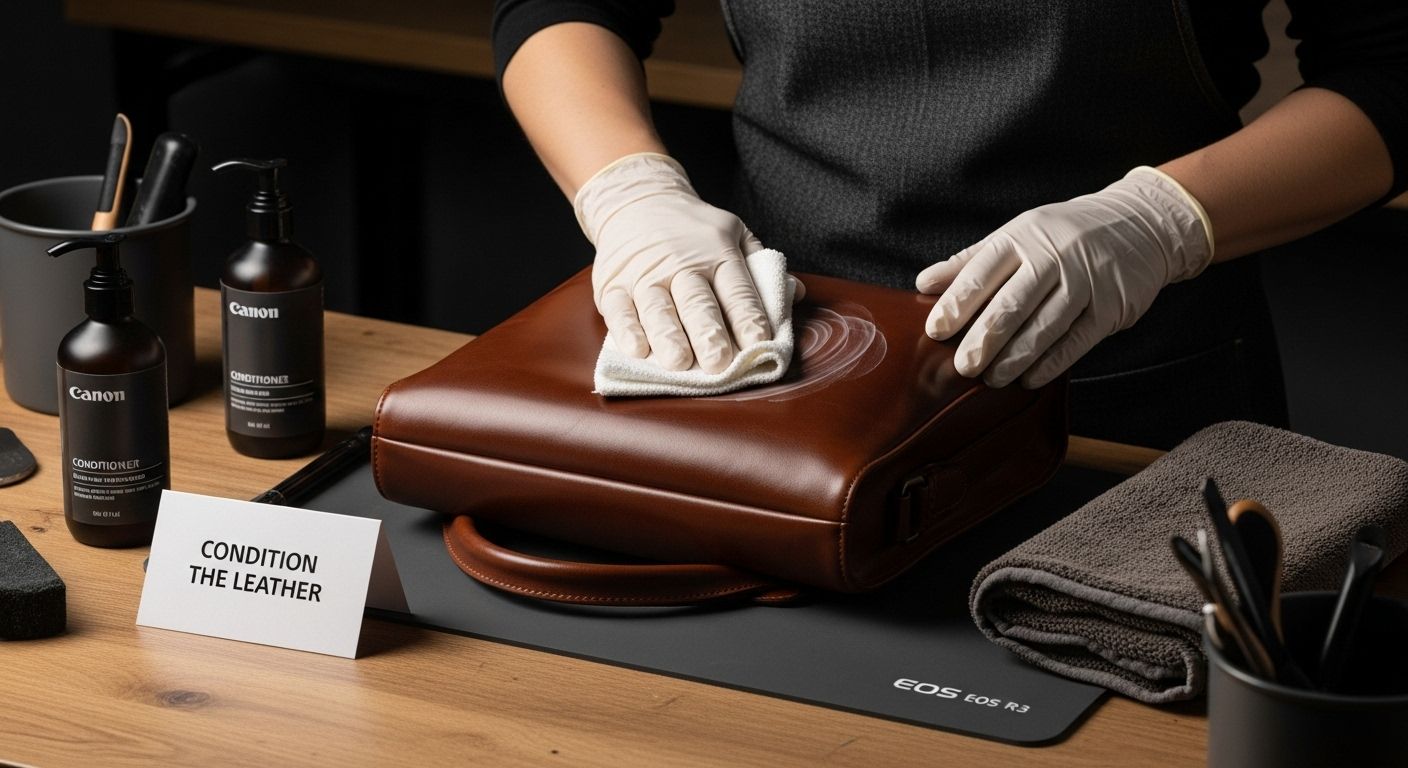
Step 4: Condition the Leather to Restore Luster
Leather conditioning is the critical process that breathes life back into your leather, restoring its natural suppleness and protective qualities. Conditioning replaces essential oils lost through wear and environmental exposure, transforming dry, brittle leather into a soft, resilient material. Think of conditioning as providing a protective shield that extends your leather’s lifespan and maintains its original beauty.
Select a high-quality leather conditioner specifically matched to your leather type. Different leather varieties require tailored conditioning approaches. Smooth leather responds well to cream-based conditioners, while suede and nubuck demand specialized products that won’t compromise their unique texture. Apply conditioner sparingly to prevent oversaturation, which can lead to material degradation or unintended color changes.
Precise Application Technique
Begin the conditioning process by testing the product on a small, inconspicuous area to ensure color compatibility and proper absorption. Use a clean, soft microfiber cloth to apply the conditioner in thin, even layers. Work the product into the leather using gentle, circular motions that allow maximum penetration. Discover professional leather conditioning strategies to optimize your maintenance routine. Pay extra attention to areas experiencing frequent friction or showing initial signs of wear, such as jacket elbows, bag corners, or shoe creases.
After application, allow the conditioner to absorb completely, which typically takes 15 to 30 minutes. Buff the leather gently with a clean, dry cloth to remove any excess product and enhance the natural sheen.
Your leather should now appear revitalized, with a subtle, rich luster that indicates successful restoration. The material should feel supple and smooth, without any greasy residue or uneven patches, signaling that you have successfully completed the conditioning process.
Step 5: Protect Your Leather with Proper Storage
Proper storage is the final guardian of your leather’s quality, preserving the meticulous care you’ve invested through cleaning and conditioning. Leather is a living material that responds dramatically to its environment, making storage conditions critical for maintaining its integrity and appearance. Your goal is to create a protective ecosystem that shields your leather from potential damage.
Choose storage locations that offer consistent temperature and moderate humidity. Avoid extreme environments like direct sunlight, humid basements, or areas with significant temperature fluctuations. Leather thrives in stable conditions, preferring cool, dry spaces with moderate air circulation. If possible, maintain room temperatures around 70 degrees Fahrenheit with approximately 50% humidity to prevent material breakdown.
Strategic Storage Solutions
Invest in breathable fabric garment bags or dust covers specifically designed for leather items. These protective covers allow air circulation while preventing dust accumulation. Avoid plastic containers or sealed plastic bags, which trap moisture and can promote mold growth. When storing jackets or larger leather items, use padded hangers that maintain the item’s shape without creating stress points. Explore advanced leather preservation techniques to enhance your storage strategy.
For leather bags, purses, and smaller accessories, stuff them gently with acid-free tissue paper to help maintain their shape. Keep items away from direct heat sources like radiators or sunny windowsills. If storing leather long-term, periodically inspect and gently condition the items to prevent drying and cracking. A successful storage approach will keep your leather looking pristine, ensuring that your carefully maintained pieces remain beautiful and functional for years to come.
Step 6: Inspect Regularly for Damage and Wear
Regular inspection is the sentinel of leather preservation, acting as your proactive defense against potential deterioration. Consistent monitoring transforms minor issues into manageable maintenance tasks, preventing small imperfections from developing into significant damage. Your goal is to become intimately familiar with your leather’s unique characteristics and detect subtle changes that might compromise its integrity.
Begin your inspection by creating a well-lit, comfortable workspace with natural daylight or bright, consistent lighting. Spread your leather item on a clean, flat surface, allowing you to examine every inch methodically. Rotate and manipulate the item carefully, checking seams, stress points, and areas prone to friction. Look for early warning signs such as slight discoloration, emerging cracks, or changes in texture that might indicate developing problems.
Comprehensive Damage Assessment
Focus your attention on high-wear areas like jacket elbows, bag corners, and leather item creases. Run your fingers gently across the surface, feeling for inconsistencies in texture or unexpected roughness. Hairline cracks, subtle color variations, and minor stiffness can signal the need for immediate conditioning or potential repair. Discover advanced leather maintenance strategies to enhance your preservation techniques. Professional leather caretakers recommend documenting your findings through detailed photographs, creating a visual record that helps track your item’s condition over time.
Complete your inspection by comparing the current state of your leather with previous assessments. Note any changes, no matter how subtle. A successful inspection leaves you with a clear understanding of your leather’s health, empowering you to take preemptive action before minor wear becomes significant damage. Remember, your keen eye and consistent attention are the most powerful tools in maintaining leather’s enduring beauty and functionality.
Below is a convenient checklist to help you inspect your leather gear for potential damage or wear. Use this table as a quick reference during regular maintenance routines.
| Inspection Area | What to Look For | Action if Issues Found |
|---|---|---|
| Seams and stress points | Loose threads, stretching | Reinforce or consult a professional |
| High-friction areas | Cracks, scuffs, roughness | Condition or use suitable repair |
| Leather surface | Discoloration, dryness | Apply conditioner |
| Texture / suppleness | Stiffness, patchiness | Condition or repair as needed |
| Corners and creases | Wear, thinning | Apply extra protection, monitor |
| Previous damage spots | Increase in size/noticeable | Document and seek repair if needed |
Take Your Leather Gear Further With Maker of Jacket
Protecting your leather is about more than just cleaning and conditioning. Maybe you have spent time inspecting damage or protecting your favorite jacket with proper storage, but still face worries about losing luster or struggling with worn spots. The challenge is real. You want long-lasting style that matches your effort in maintaining every jacket, pant, or accessory.
Explore our leather collection to see how premium materials and expert craftsmanship are built into every item.

If you are ready for leather that lasts and suits your exact taste, visit Maker of Jacket today. Shop by style, color, or request a custom design to fit your unique needs. Act now and experience world-class quality and service that protects both your style and your investment.
Frequently Asked Questions
How often should I clean and condition my leather gear?
It is recommended to clean and condition your leather gear every 3 to 6 months, depending on usage and environmental exposure. Regular maintenance helps prevent dryness and prolongs the life of the leather.
What type of leather conditioner should I use for my leather item?
Choose a leather conditioner specifically designed for your leather type. Smooth leather typically responds well to cream-based conditioners, while suede and nubuck require specialized products to maintain texture and appearance.
Can I use regular household cleaners on my leather items?
No, it’s best to avoid regular household cleaners as they can contain harsh chemicals that might damage the leather. Instead, use a mild, pH-neutral leather soap to clean your leather items safely.
How can I detect damage or wear on my leather gear?
Perform a visual and tactile assessment by examining the leather for cracks, discoloration, or stiffness. Regular inspections in good lighting will help you identify early signs of wear that need attention.
