

How to Break in Leather for Comfort and Style

Breaking in new leather is often seen as a simple waiting game where you just let time do the work. But statistics show that full-grain leather can remain stiff for months if not treated correctly, leaving you frustrated with a jacket or bag that never truly fits. What you might not expect is that how you assess, condition, and wear your leather can cut this timeline in half and make your favorite piece feel made for you.
Table of Contents
- Step 1: Assess The Leather Item For Break-in Needs
- Step 2: Choose The Right Conditioning Products
- Step 3: Apply Conditioner Evenly Over The Leather
- Step 4: Gradually Wear The Leather Item For Flexibility
- Step 5: Test For Comfort And Adjust Care As Needed
Quick Summary
| Key Point | Explanation |
|---|---|
| 1. Assess leather characteristics first | Understand thickness and rigidity to determine the best break-in approach for your leather item. |
| 2. Select the right conditioning products | Choose conditioners that suit your leather type and offer protection, avoiding harsh chemicals to maintain integrity. |
| 3. Apply conditioner evenly with care | Use a soft cloth to apply conditioner in small sections with circular motions for optimal absorption and even coverage. |
| 4. Gradually wear the leather item | Start with short wearing sessions to allow natural movement, helping the leather mold comfortably to your body shape. |
| 5. Test for comfort and flexibility | Assess how the leather item feels during movement, making adjustments or additional treatments as necessary for optimal fit. |
Step 1: Assess the Leather Item for Break-in Needs
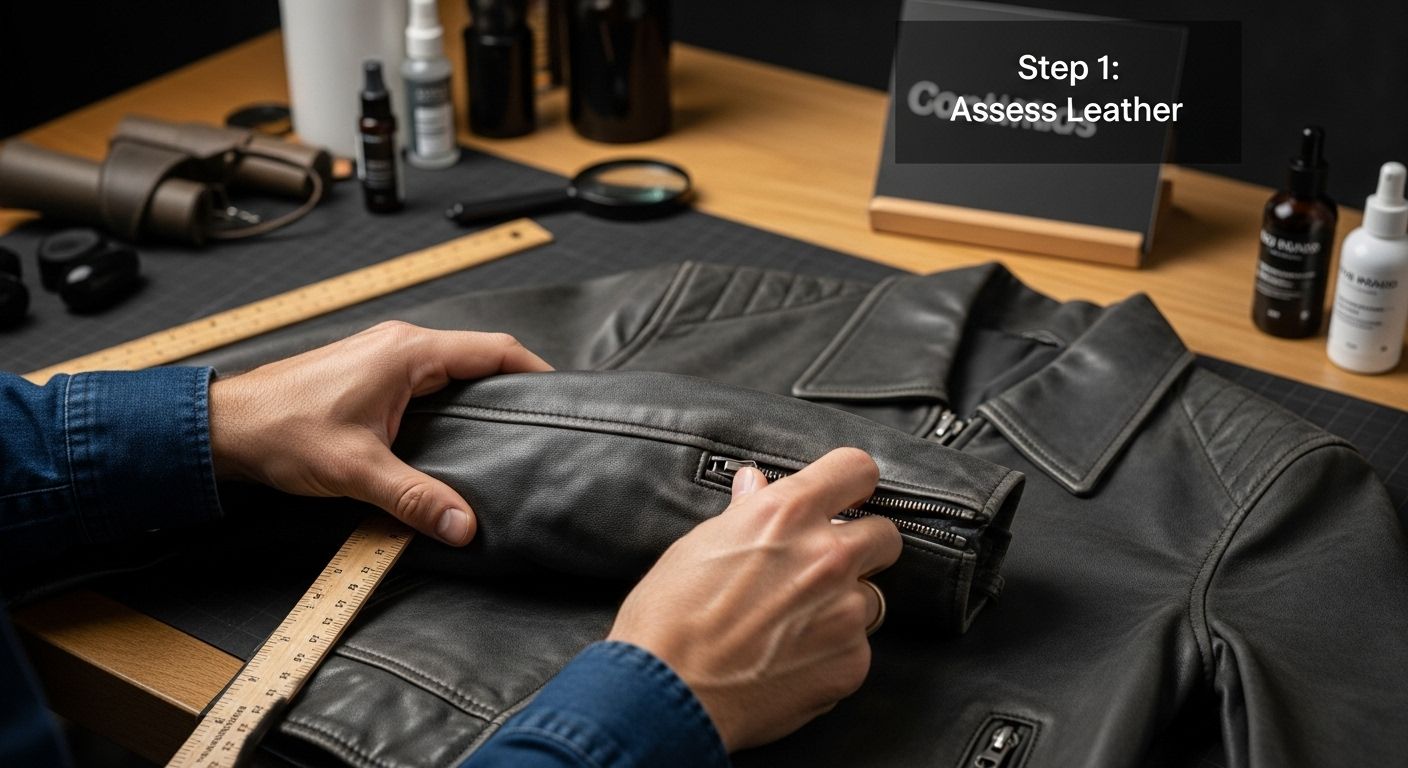
Breaking in leather requires a strategic approach that begins with a careful assessment of the specific leather item. Understanding the unique characteristics of your leather piece will determine the most effective methods for softening and personalizing its texture and fit. Not all leather items are created equal, and recognizing the subtle differences can make a significant impact on your break-in process.
Understanding Leather Characteristics
Start by examining the leather’s thickness, rigidity, and current condition. Different types of leather respond differently to break-in techniques. Full-grain leather, which retains the natural surface of the hide, tends to be stiffer and requires more deliberate breaking in compared to softer, more pliable leather types. Learn more about leather conditioning techniques to understand how different treatments can affect your leather’s flexibility.
Pay close attention to the leather’s origin and initial stiffness. A new motorcycle jacket crafted from thick cowhide will demand a different approach compared to a supple lambskin leather blazer. The leather’s weight, texture, and intended use are critical factors in determining your break-in strategy. Heavyweight leathers like those used in motorcycle gear require more aggressive breaking in methods, while lighter fashion leathers might need gentler treatment.
Below is a table summarizing key characteristics of different leather types mentioned, along with their break-in requirements and typical applications. This helps readers choose the appropriate approach for their specific leather item.
| Leather Type | Typical Rigidity | Break-in Approach | Common Applications |
|---|---|---|---|
| Full-grain | Stiff, thick | Deliberate, intensive | Motorcycle jackets, heavy bags |
| Top-grain | Moderately stiff | Moderate conditioning | Fashion jackets, handbags |
| Suede/Nubuck | Soft, pliable | Gentle, less intensive | Blazers, casual shoes |
| Lambskin | Soft, lightweight | Minimal, gentle conditioning | Dress jackets, high-end fashion |
| Cowhide | Very stiff (heavyweight) | Aggressive, gradual wearing | Motorcycle gear, work boots |
Carefully inspect the leather for any existing imperfections, seams, or areas of potential stress. Look for natural flex points such as elbows, shoulders, and knees where the leather will naturally begin to soften with wear. These areas will be your primary focus during the break-in process. Understanding these characteristics will help you apply targeted techniques that enhance comfort without compromising the leather’s structural integrity.
Verify the leather’s current state by performing a simple flexibility test. Gently bend and manipulate the leather in multiple directions, noting its resistance and potential stress points. A stiff leather piece that barely moves will require more intensive breaking in techniques, while a leather item with some initial flexibility might need minimal intervention. Your goal is to create a personalized fit that molds to your body while maintaining the leather’s inherent strength and aesthetic appeal.
This checklist table makes it easy to verify each main step in the leather break-in process, ensuring you don’t miss any essential actions for optimal comfort and longevity.
| Step | Verification/Completion Criteria |
|---|---|
| Assess leather characteristics | Performed flexibility test; identified stress points |
| Choose suitable conditioning product | Checked compatibility with leather type |
| Apply conditioner evenly | Leather feels soft, no greasy residue, uniform coverage |
| Gradually wear for flexibility | Comfort improves, natural creases develop |
| Test for comfort and adjust as needed | Item feels flexible, no persistent discomfort |
Step 2: Choose the Right Conditioning Products
Selecting the appropriate conditioning products is a critical step in breaking in leather effectively while preserving its quality and appearance. The right conditioner not only softens the leather but also protects it from potential damage, ensuring your leather item remains supple and resilient through years of wear.
Understanding Leather Conditioning Essentials
Begin by understanding that not all leather conditioning products are created equal. Different leather types require specific care approaches. Full-grain, top-grain, suede, and nubuck leathers each demand unique treatment strategies. Explore our comprehensive leather wax collection to find the most suitable product for your specific leather item.
Look for conditioning products that offer multiple benefits beyond simple softening. High-quality leather conditioners should simultaneously moisturize the material, provide protection against moisture and environmental damage, and help maintain the leather’s natural color and texture. Avoid products containing harsh chemicals or silicone-based ingredients that can potentially damage the leather’s structural integrity.
Carefully read product labels and manufacturer recommendations before application. Some leather items come with specific care instructions from their makers, and deviating from these guidelines could void warranties or cause unintended damage.
Professional-grade leather conditioners typically include natural ingredients like beeswax, lanolin, and plant-based oils that penetrate deep into the leather’s fibers, providing comprehensive nourishment.
When selecting a conditioning product, consider the leather item’s intended use and environment. A leather jacket for motorcycle riding will require a more robust conditioning approach compared to a delicate leather blazer. Test the conditioner on a small, inconspicuous area first to ensure color compatibility and proper absorption. This preliminary test helps prevent potential discoloration or unwanted changes to the leather’s appearance.
Verify the conditioning product’s effectiveness by observing its immediate impact. A quality leather conditioner should be easily absorbed, leaving no greasy residue and creating a soft, supple texture. The leather should feel more flexible and look rejuvenated without appearing overly shiny or artificially treated. Remember that proper conditioning is not just about immediate softness but about long-term leather preservation and maintenance.
Step 3: Apply Conditioner Evenly Over the Leather
Applying leather conditioner is a delicate process that requires patience, precision, and the right technique to ensure your leather item receives optimal treatment. This crucial step transforms a stiff leather piece into a supple, comfortable garment while protecting its long-term durability and appearance.
Preparing for Proper Application
Preparation is key to successful leather conditioning. Begin by gathering soft, clean microfiber cloths, disposable gloves, and your selected leather conditioner. Ensure your workspace is clean, well-ventilated, and free from dust or debris that could contaminate the leather during treatment. Check out our detailed guide on leather conditioning techniques to understand the nuanced approach required for different leather types.
Approach the conditioning process methodically. Start by applying a small amount of conditioner to a clean, soft cloth rather than directly onto the leather. This technique provides better control and prevents oversaturation. Work the conditioner into the cloth until it feels slightly damp but not wet. The goal is to create a thin, even layer that will be gently massaged into the leather’s surface.
Work in small, manageable sections, applying the conditioner using circular motions with light to moderate pressure. Pay special attention to areas that experience more stress and flexing, such as elbows, shoulders, and seams. These high-movement zones typically absorb conditioner more readily and benefit from extra attention. Move systematically across the leather surface, ensuring complete and uniform coverage without pooling or excessive product buildup.
Allow the conditioner to absorb naturally by giving the leather item sufficient rest time. After application, hang the leather in a cool, dry area away from direct sunlight or heat sources. This resting period enables the conditioner to penetrate deeply into the leather fibers, promoting softness and flexibility. Avoid wearing or manipulating the item immediately after conditioning, as this can interfere with the absorption process.
Verify the conditioning’s effectiveness by checking the leather’s texture and appearance. A properly conditioned leather item should feel softer, more pliable, and have a subtle, rich sheen without appearing greasy or overly glossy. Gently flex the leather in various directions to confirm increased flexibility. If the leather feels stiff or the conditioner appears uneven, you may need to repeat the process with a lighter touch, ensuring gradual and thorough treatment.
Step 4: Gradually Wear the Leather Item for Flexibility
Gradually wearing your leather item is the most natural and effective method of breaking it in, transforming a stiff garment into a personalized piece that moves and feels like a second skin. This step requires patience, strategic wearing, and an understanding of how leather responds to movement and body heat.
Strategic Wearing Techniques
Begin with short, controlled wearing sessions to minimize discomfort and prevent potential damage. Start by wearing the leather item for short periods, perhaps an hour or two, gradually increasing duration as the material becomes more flexible. Explore our tips for softening leather jackets to understand the nuanced approach to breaking in different leather types.
Focus on creating natural movement and flex points during these initial wearing sessions. For a leather jacket, this means deliberately moving your arms, rotating your shoulders, and engaging in light activities that encourage the leather to stretch and conform to your body’s unique shape. Avoid intense physical activities during the early break-in stages, as aggressive movements can cause unnecessary stress on the leather fibers.
Pay special attention to areas that experience the most movement and friction. Shoulders, elbows, and underarms are critical zones where leather needs to develop flexibility. Gently stretch and move in the leather item, allowing your body heat and natural movement to help soften the material. Think of this process as a gentle massage that gradually relaxes the leather’s fibers, making them more pliable and comfortable.
Consider layering your clothing strategically during the break-in process. Wear a thin, smooth layer underneath the leather item to reduce initial friction and help the leather adapt to your body’s contours. This approach minimizes potential chafing and helps the leather mold more comfortably to your physique. Be mindful of temperature and humidity, as these factors can influence how quickly leather becomes flexible.
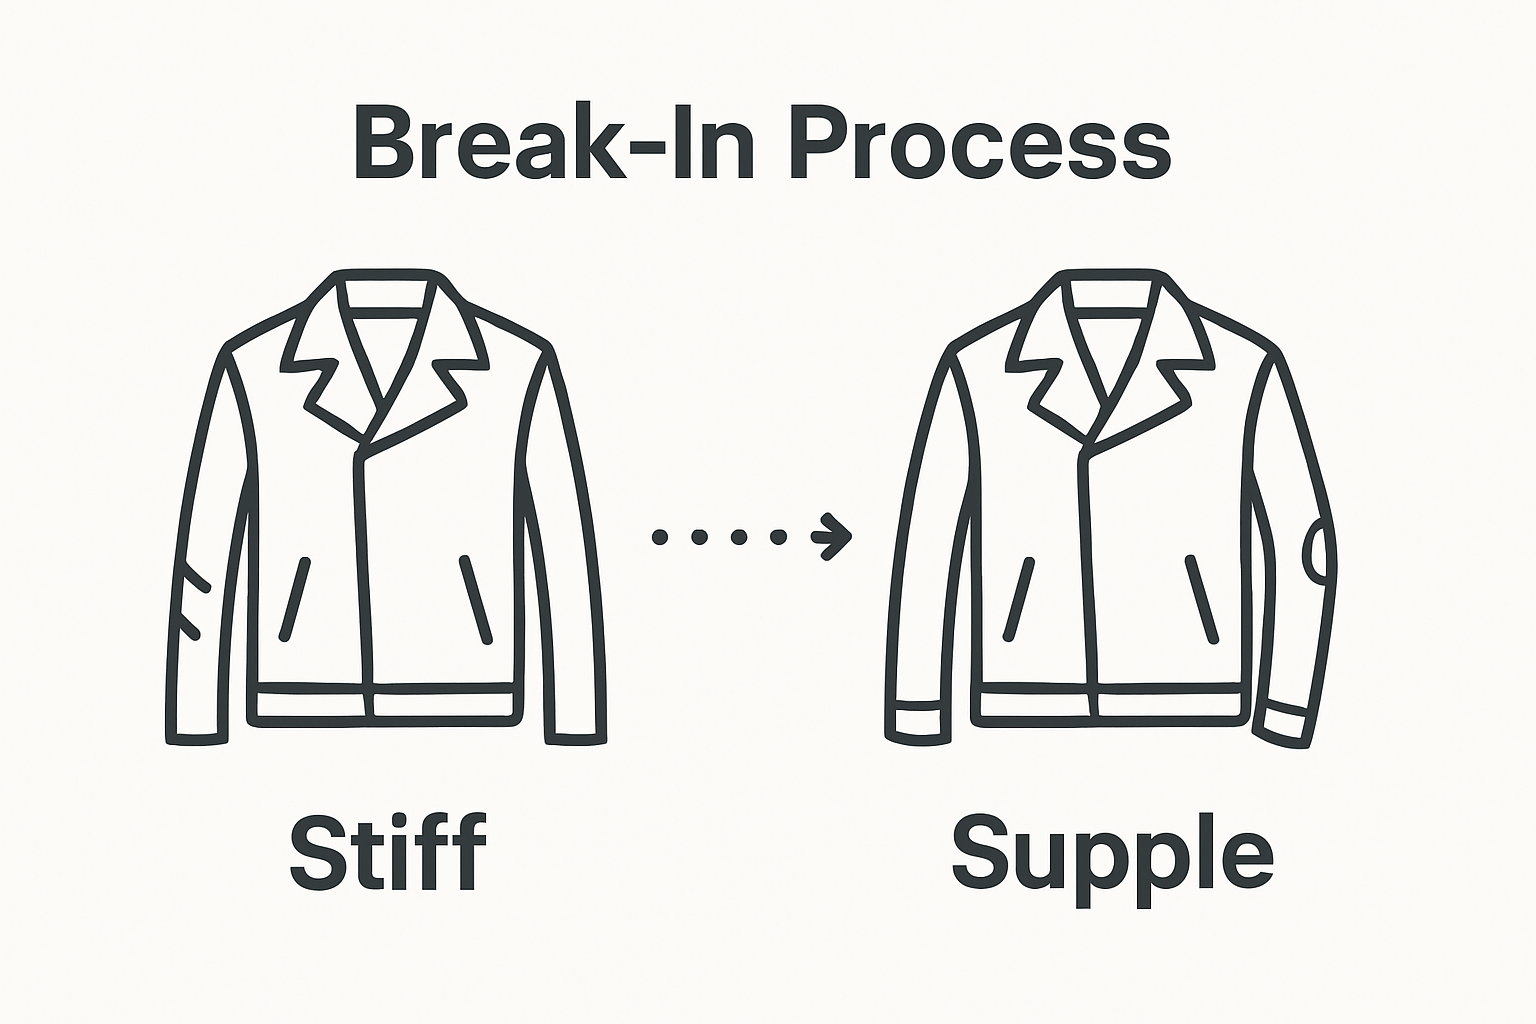
Verify the break-in progress by assessing the leather’s improved flexibility and comfort. A successfully broken-in leather item should feel more supple, move more freely with your body, and show subtle signs of personalization without appearing stretched or misshapen.
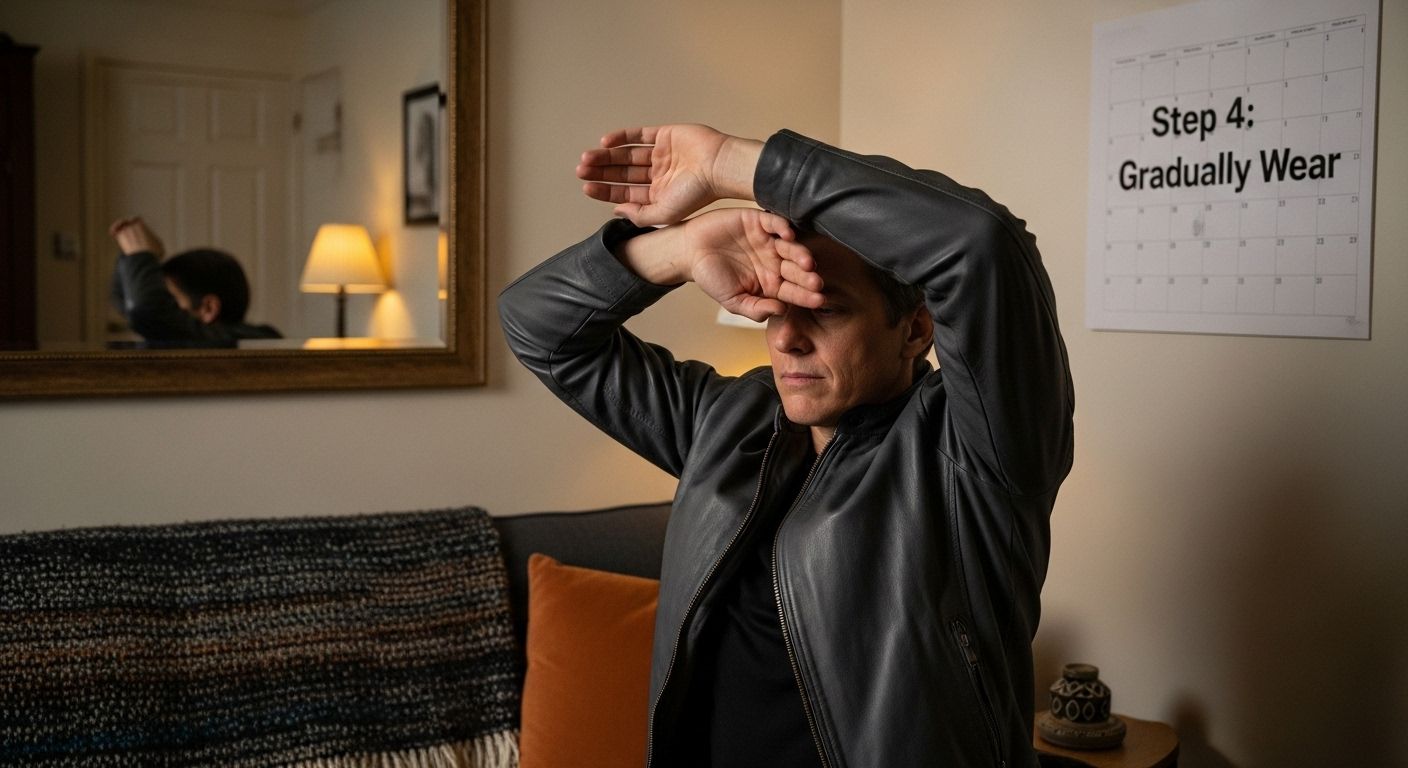
Look for natural creases that develop in movement areas, indicating the leather is adapting to your unique body shape. Remember that breaking in leather is a gradual process that requires consistent, gentle wear and patience.
Step 5: Test for Comfort and Adjust Care as Needed
Testing your leather item for comfort is the final critical step in the break-in process, ensuring that your leather piece not only looks stylish but feels like a natural extension of your body. This comprehensive evaluation helps you identify any remaining stiffness, potential areas of discomfort, and opportunities for further conditioning or gentle manipulation.
Comprehensive Comfort Assessment
Begin with a thorough physical examination and wear test. Put on the leather item in a comfortable environment and move through a series of deliberate motions that mimic your typical daily activities. Discover expert techniques for leather maintenance to ensure long-lasting comfort and performance. Focus on range of motion exercises that reveal how the leather responds to different movements, paying close attention to potential areas of restriction or friction.
Carefully analyze the leather’s behavior during movement. Check for any uncomfortable rubbing points, areas of excessive tightness, or regions that seem overly stiff compared to the rest of the garment. Bend, stretch, and rotate your body to simulate real-world activities. Areas around the shoulders, elbows, and underarms typically require the most attention, as these zones experience the most dynamic movement and potential stress.
Listen to what your body tells you during the comfort assessment. Slight initial resistance is normal, but persistent discomfort indicates that additional breaking-in techniques might be necessary. If certain areas feel particularly rigid, consider targeted conditioning or gentle stretching techniques. Use your hands to massage and manipulate these specific sections, applying light pressure to help soften the leather and improve its flexibility.
Document your findings during the comfort test. Note any specific areas that feel uncomfortable, the nature of the discomfort, and potential solutions. Some leather items might require additional spot conditioning, while others might benefit from more extended wear or gentle stretching. Remember that breaking in leather is a personalized process, and what works perfectly for one garment might require a slightly different approach for another.
Verify the break-in process by conducting a final comfort assessment. A well-broken-in leather item should feel like a second skin – flexible, comfortable, and molded to your body’s unique shape. The leather should move with you naturally, without excessive resistance or uncomfortable friction. If minor adjustments are needed, repeat targeted conditioning or wearing techniques, always being patient and gentle with the leather’s delicate fibers.
Take Your Leather Comfort and Style to the Next Level
Struggling to break in stiff, uncomfortable leather? Many readers face the same challenge of making their jackets truly fit while keeping that polished look. The article covers essential steps like choosing the right conditioner, wearing techniques, and targeting flex points, but the real key is starting with high-quality leather that is built to mold perfectly to you from day one. Our Maker of Jacket’s collection offers premium pieces designed for easy personalization and lasting comfort, making your break-in journey smoother and faster.
Ready to upgrade your leather experience? Explore our extensive selection at Maker of Jacket and find a jacket that’s made to fit your style and body. Whether you want the flexible feel of fashion-forward leather or crave the durability of biker gear, you will find expertly crafted options that break in beautifully and deliver instant confidence every time you wear them. Shop now and discover how the right jacket makes all the difference.
Frequently Asked Questions
How long does it take to break in leather?
Breaking in leather can take anywhere from a few days to several weeks, depending on the thickness and type of leather. Gradually wearing the item will help speed up the process.
What should I do if my leather item feels too stiff?
If your leather item feels stiff, consider applying a quality leather conditioner to soften it. Focus on areas like elbows and shoulders, and wear the item gradually to allow it to adapt to your body.
Can I use any conditioner on all types of leather?
No, not all leather conditioners are suitable for every type of leather. Full-grain, top-grain, suede, and nubuck leathers require specific conditioners. Always check the product label for compatibility.
What are the best methods to stretch leather for a better fit?
To stretch leather, you can gently manipulate the material by wearing it, using leather stretching spray, or applying heat carefully with a hairdryer. Focus on areas that need extra flexibility or room.


